It was finally time to continue on our “Severance Tour”, we drove the Jeep to Texas to visit Carmen & family and then get the RV back on the road. We literally went under the Riggs Road overpass, the last exit out of the Phoenix metro area and the check engine light came on! We’ve had this Jeep in shake down mode with plenty of freeway drives so I was truly “shocked and dismayed” with the timing.
I stopped at an AutoZone in Casa Grande and they put a code reader on and showed random misfire on cylinders 4, 5 and 6. I know at this point I can make it to Texas just fine since the engine is running smooth as silk and “random” misfires are very minor. I bought a set of spark plugs, cap, rotor and new spark plug wires and figured I’ll install once we get to Carmen’s but, have them on hand just in case. At this point I’m feeling deja-vu from our trip home after buying the RV. But we will press on like we did back then…
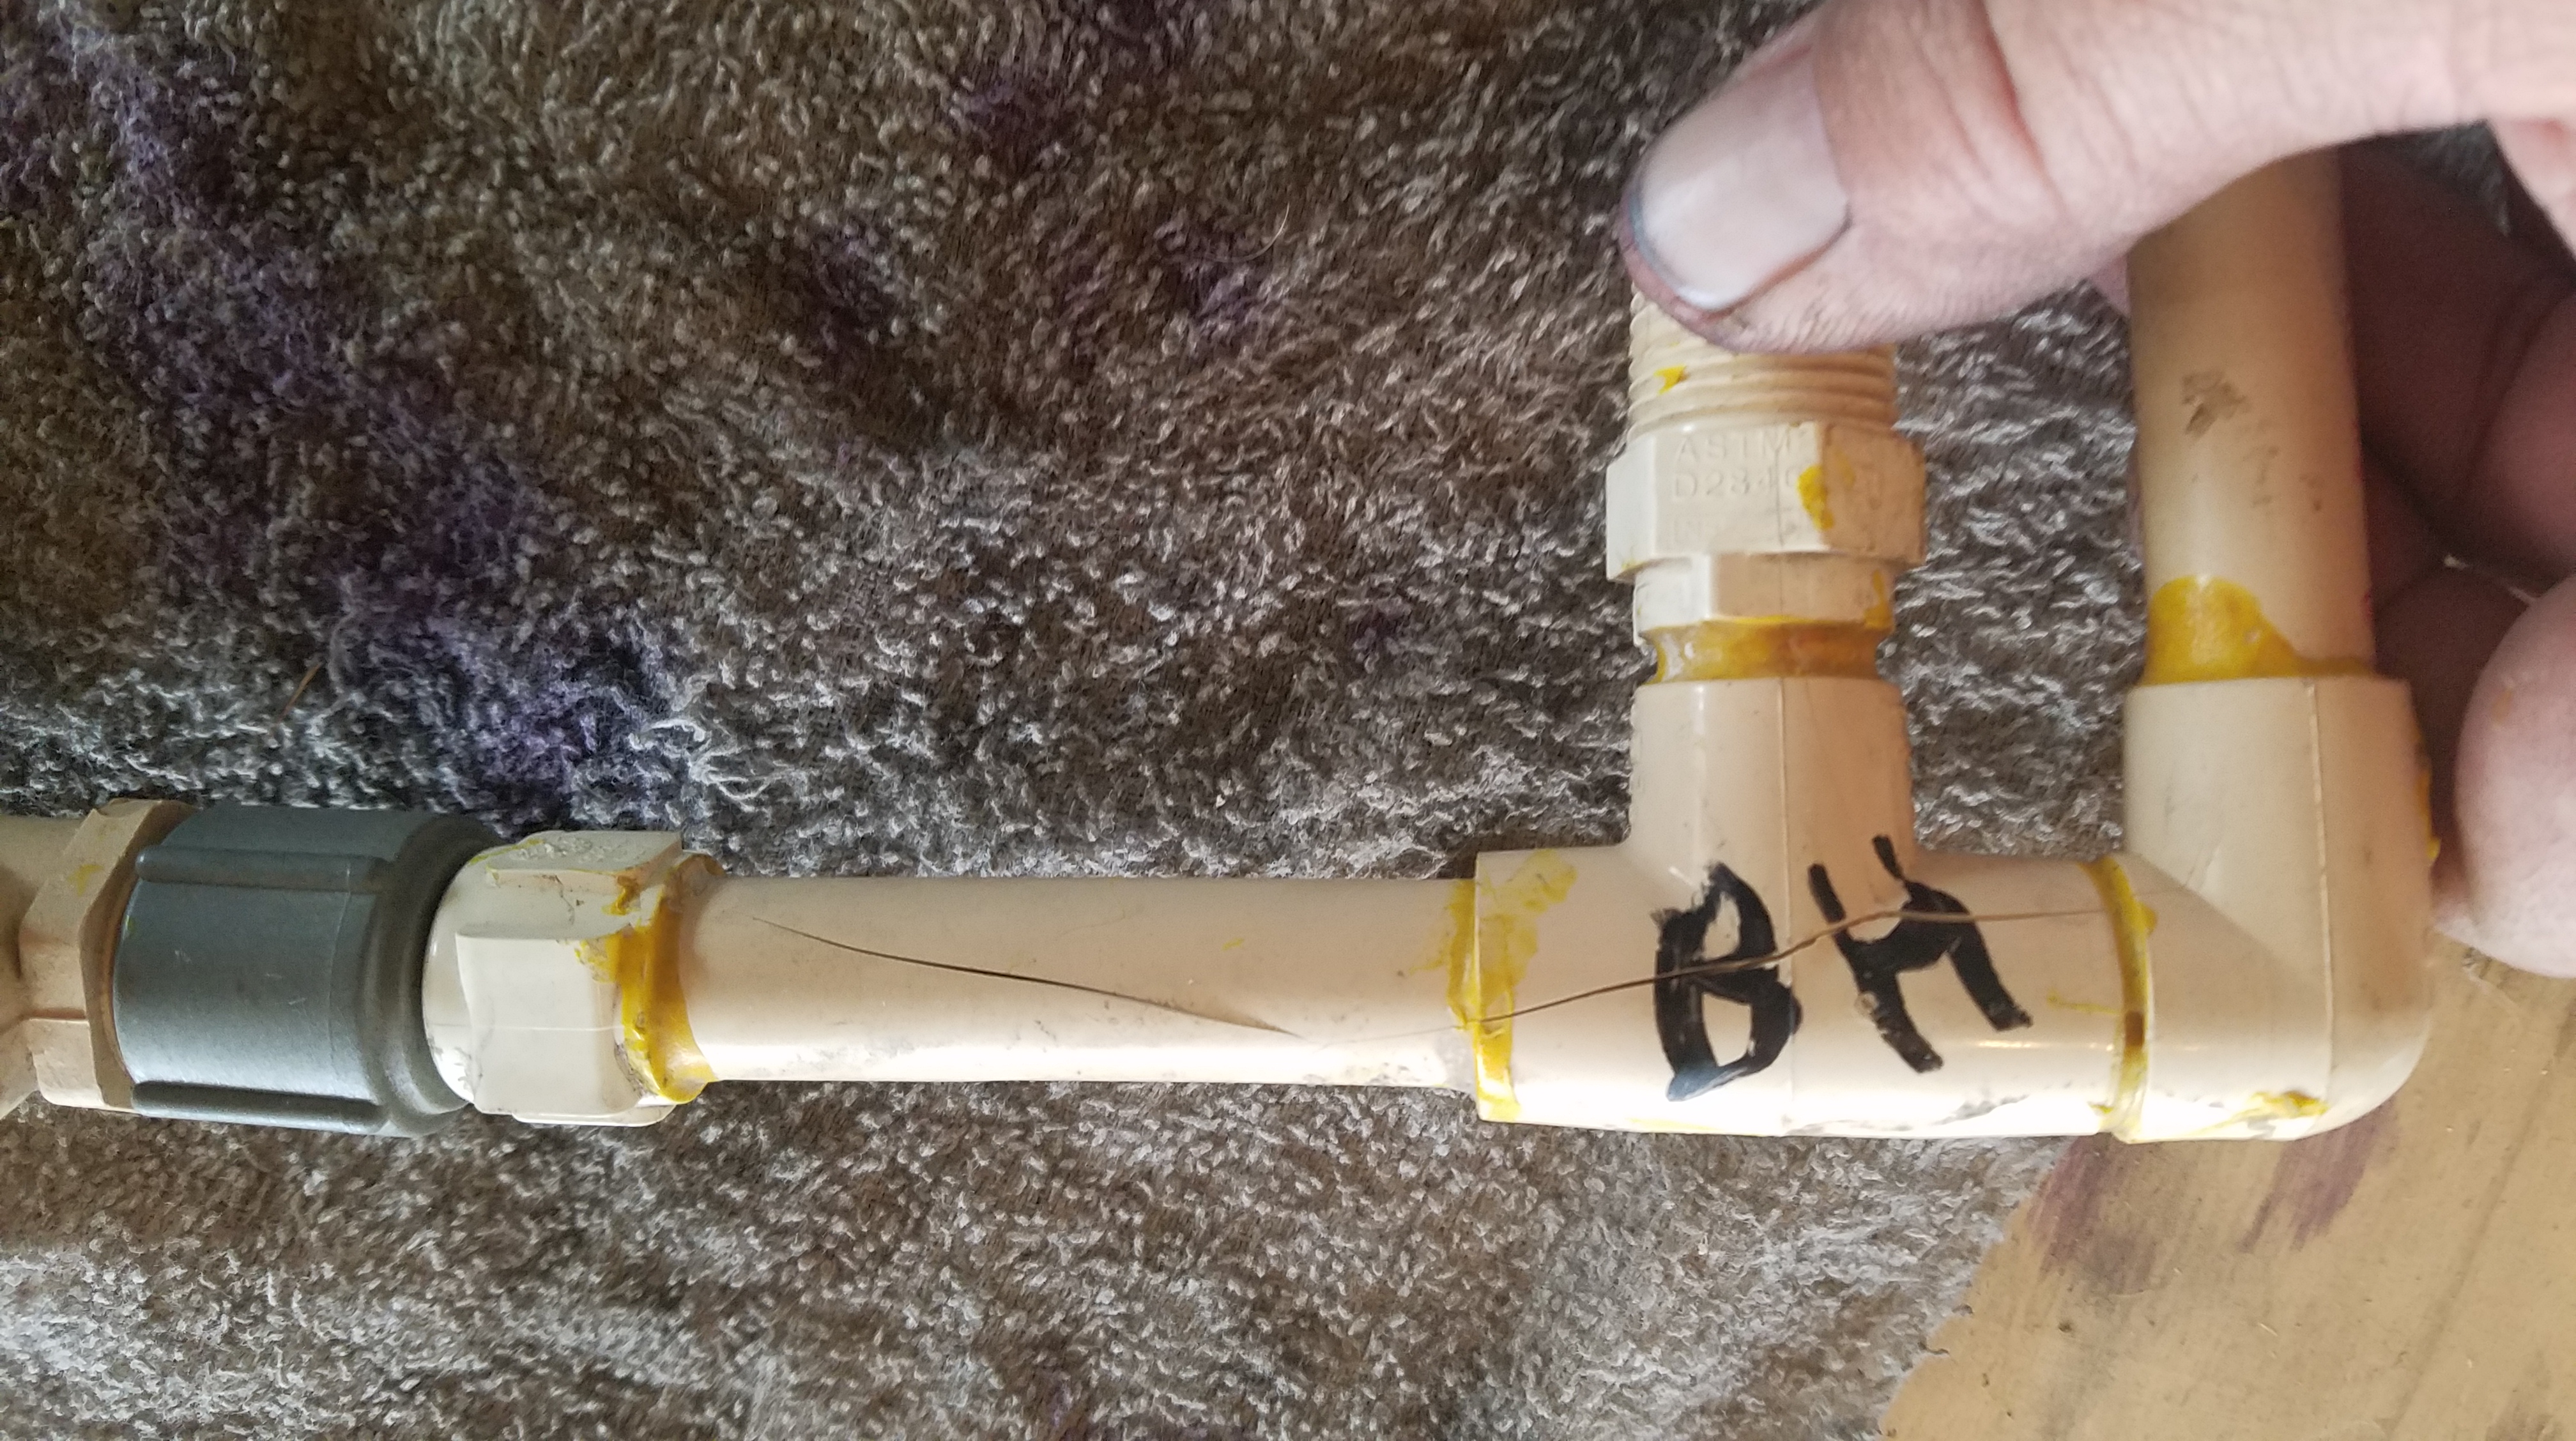
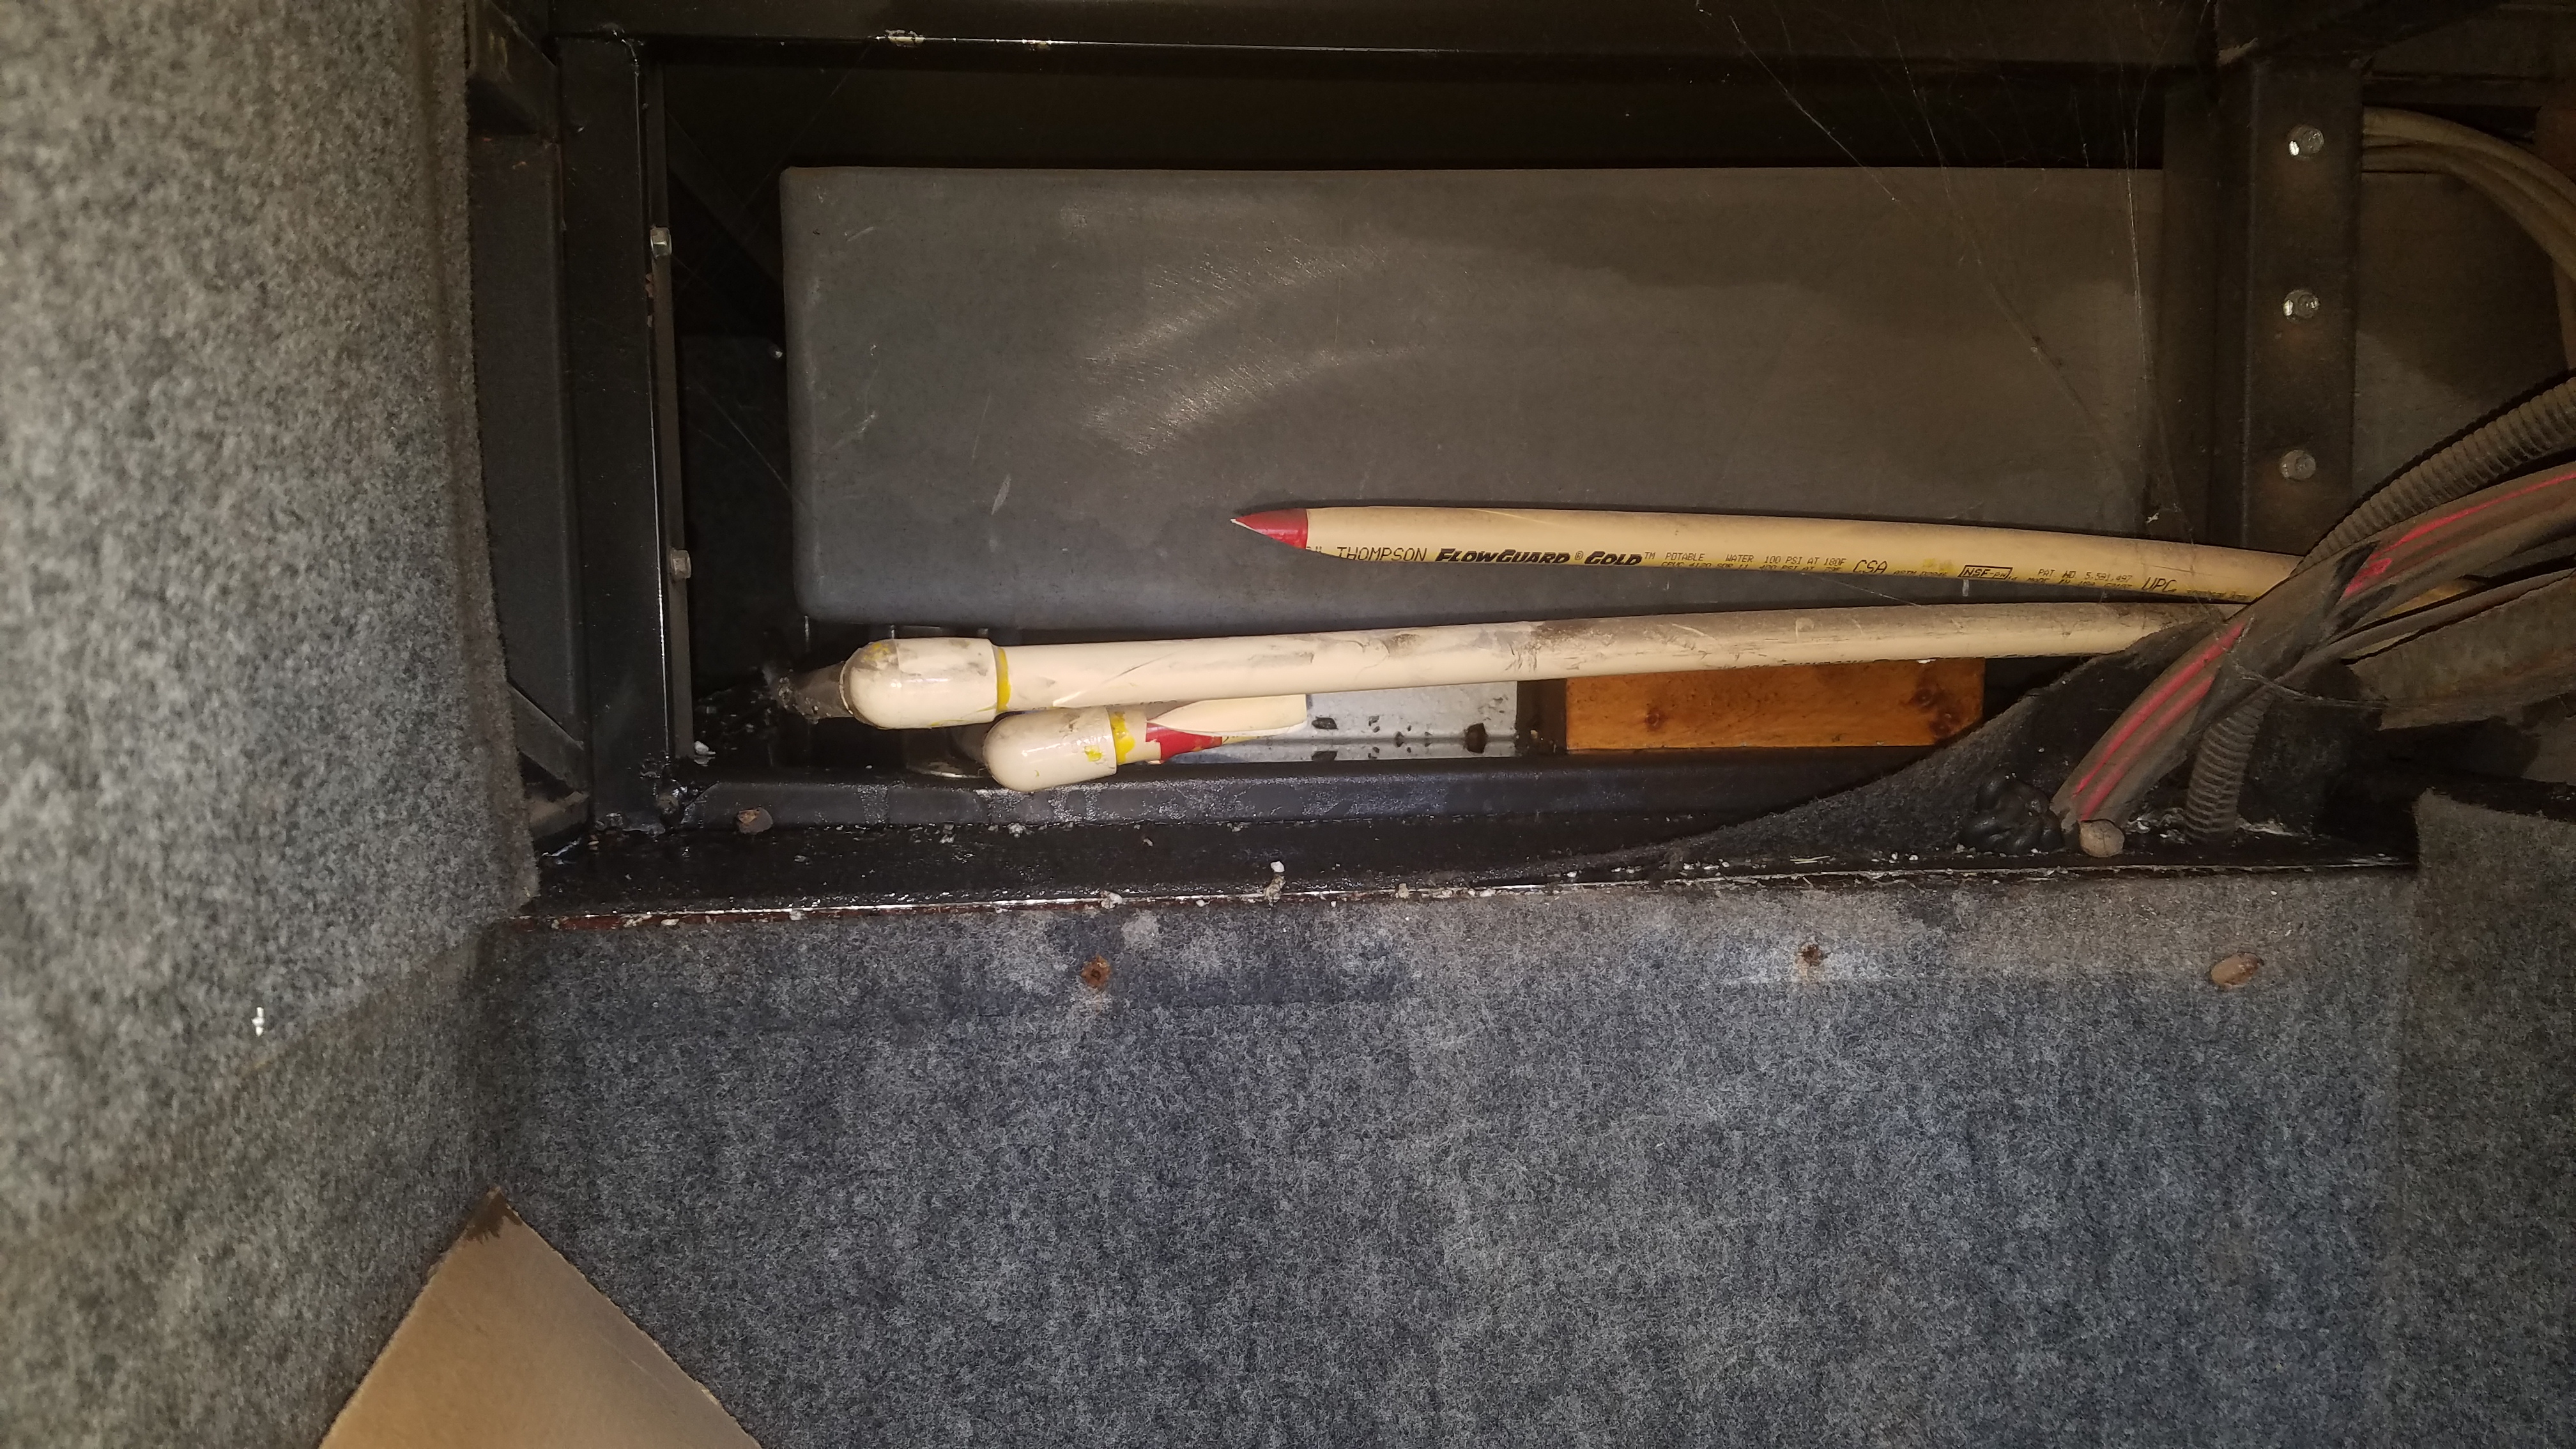
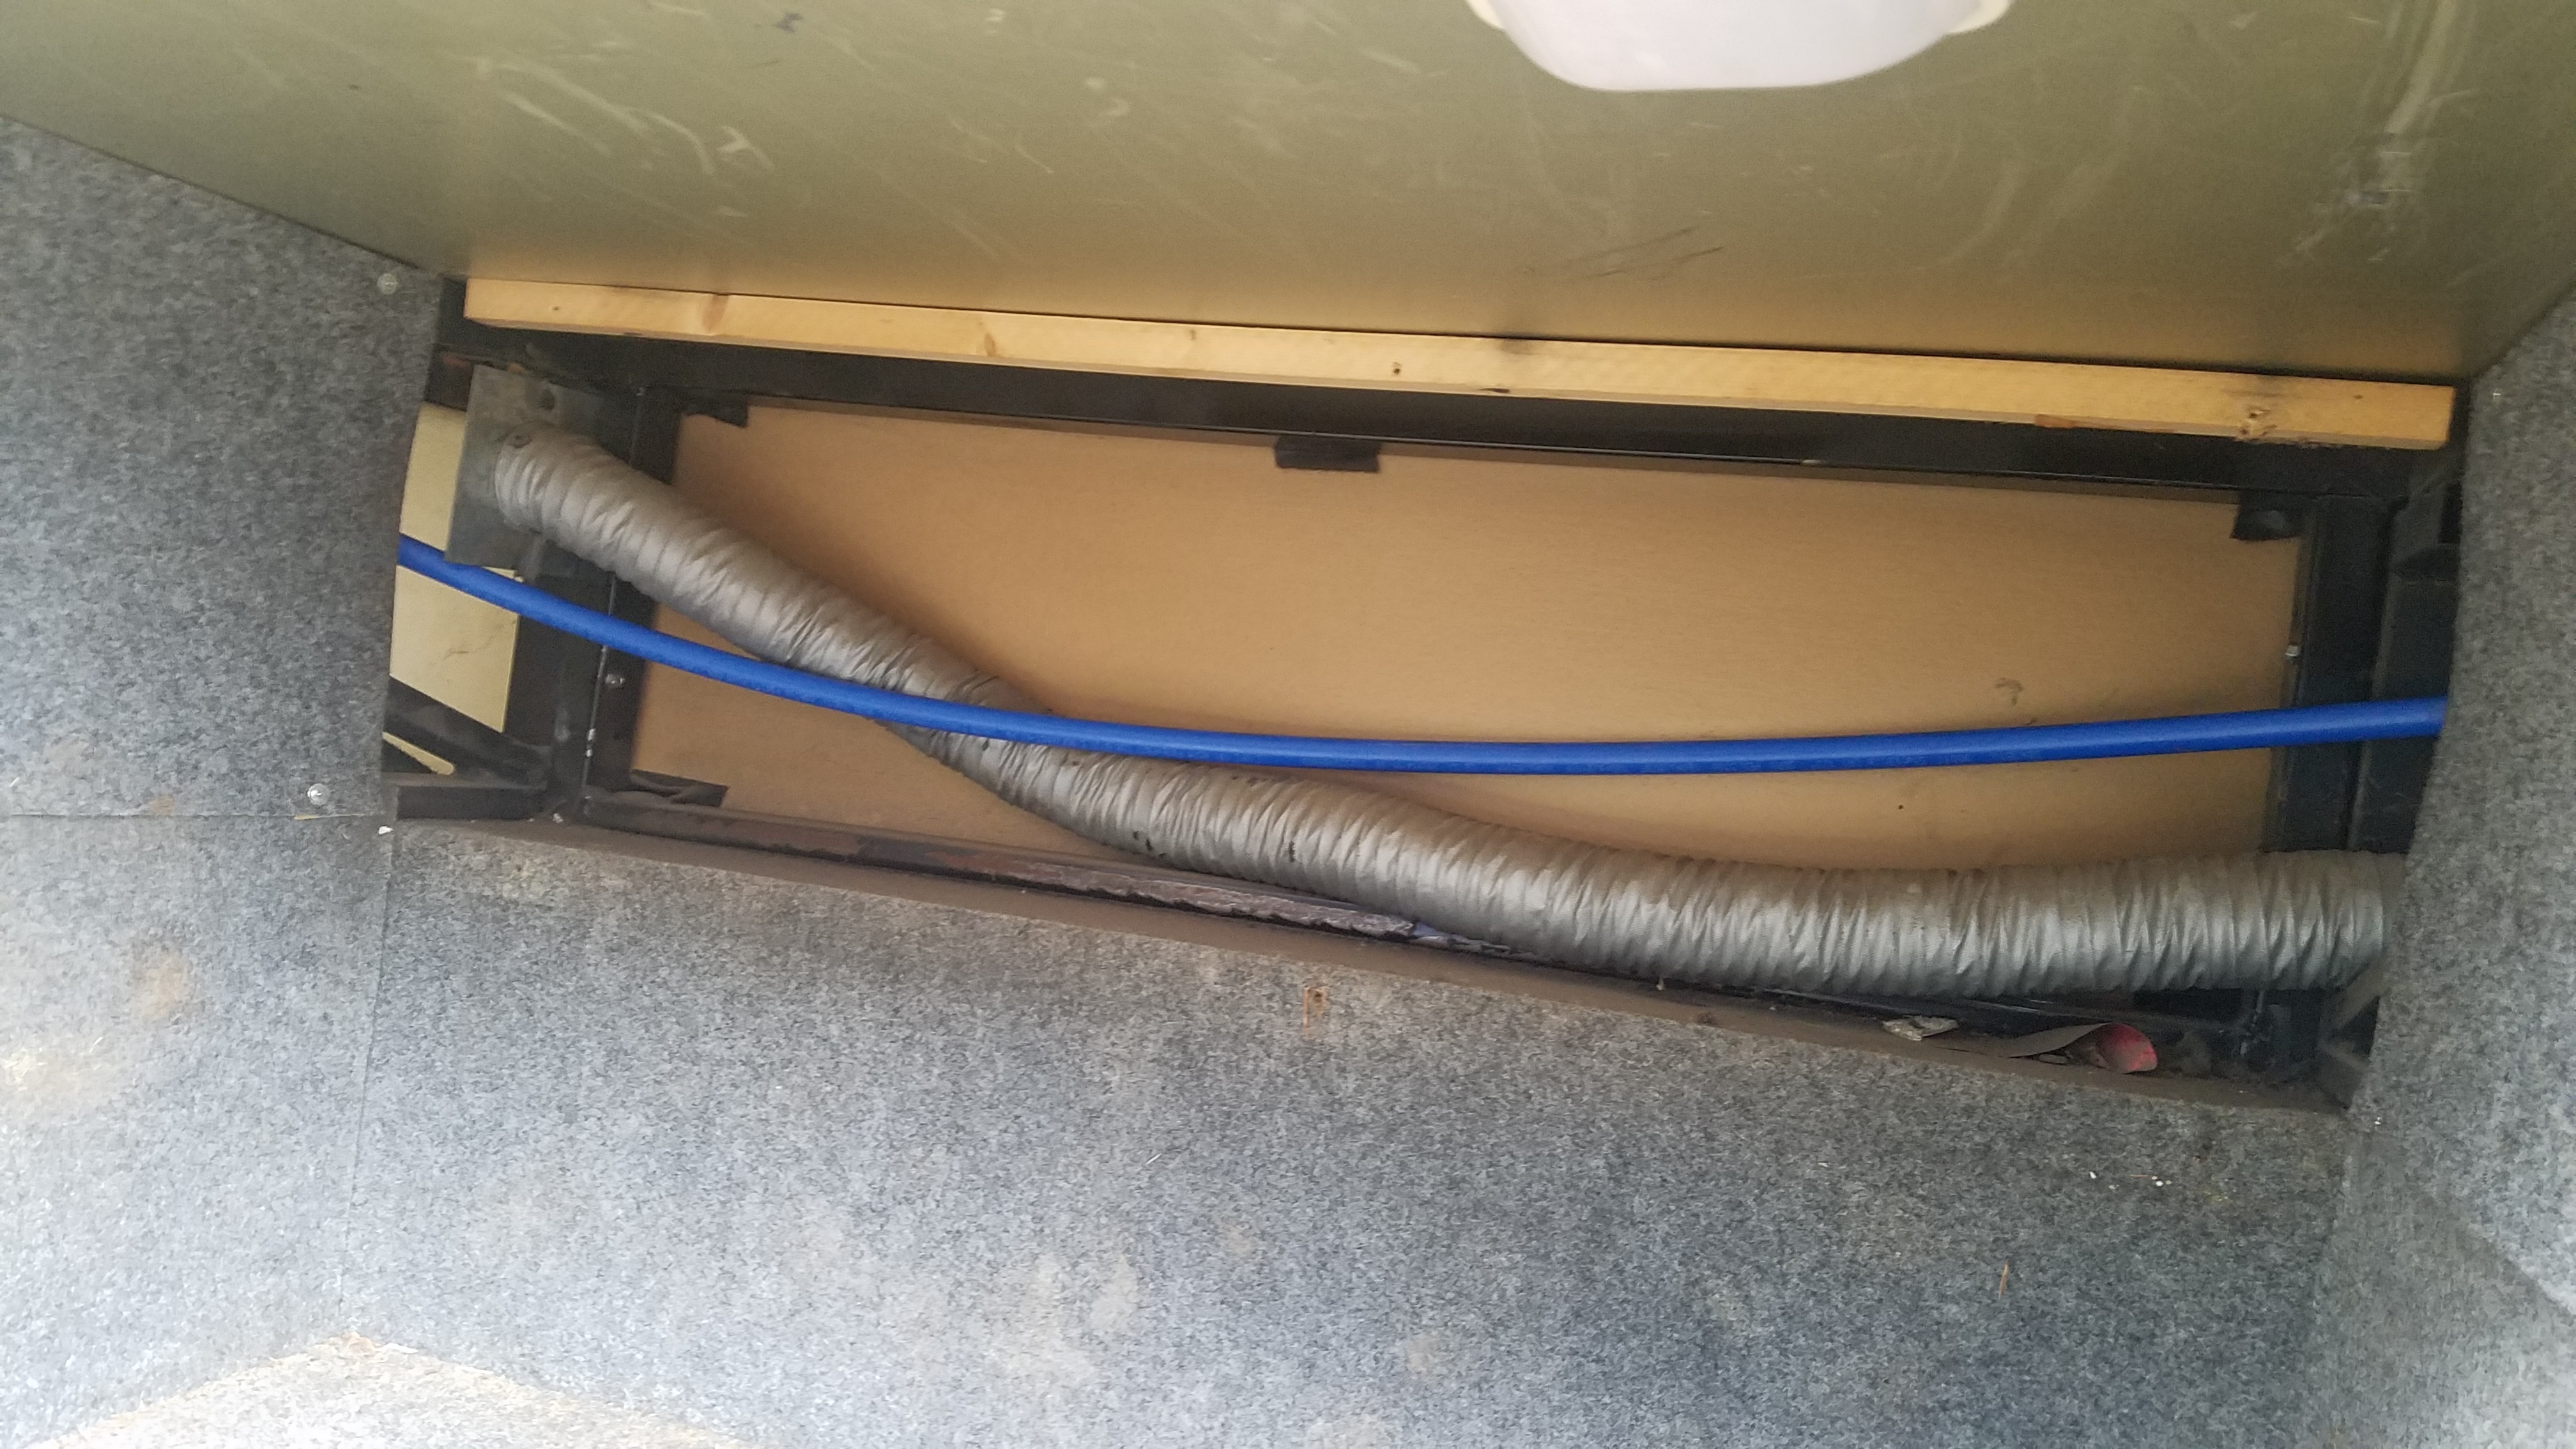
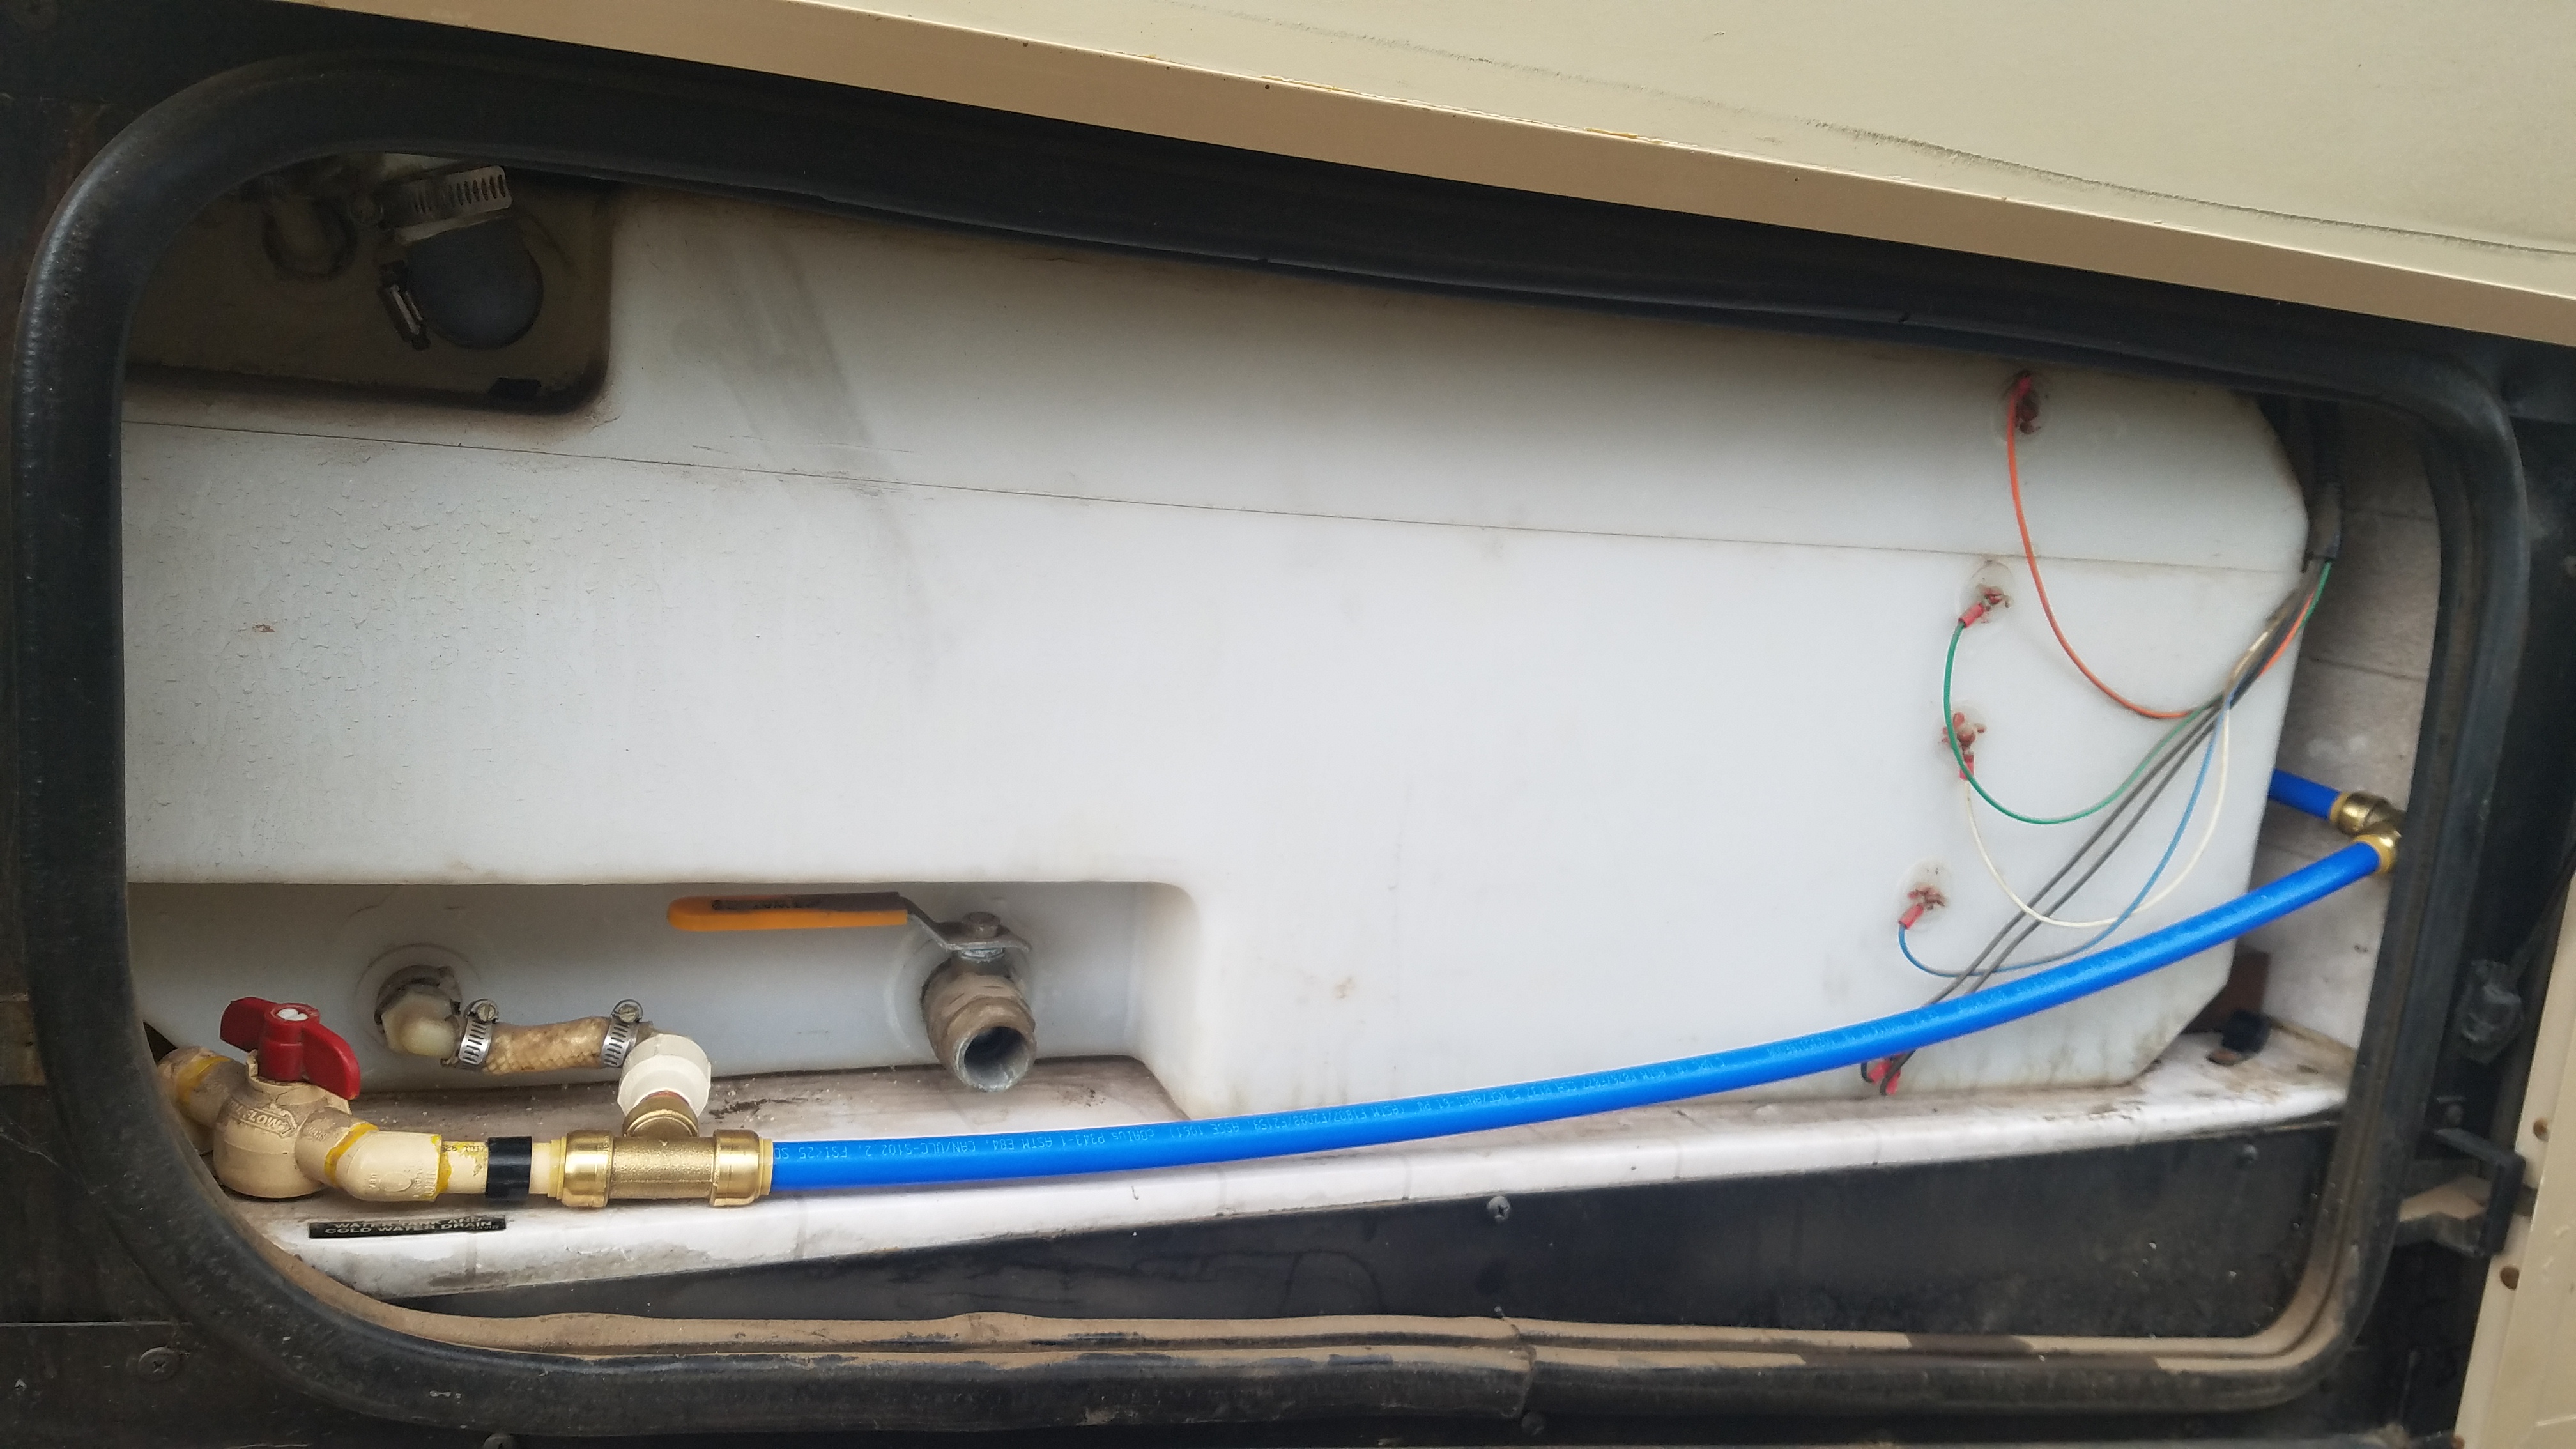
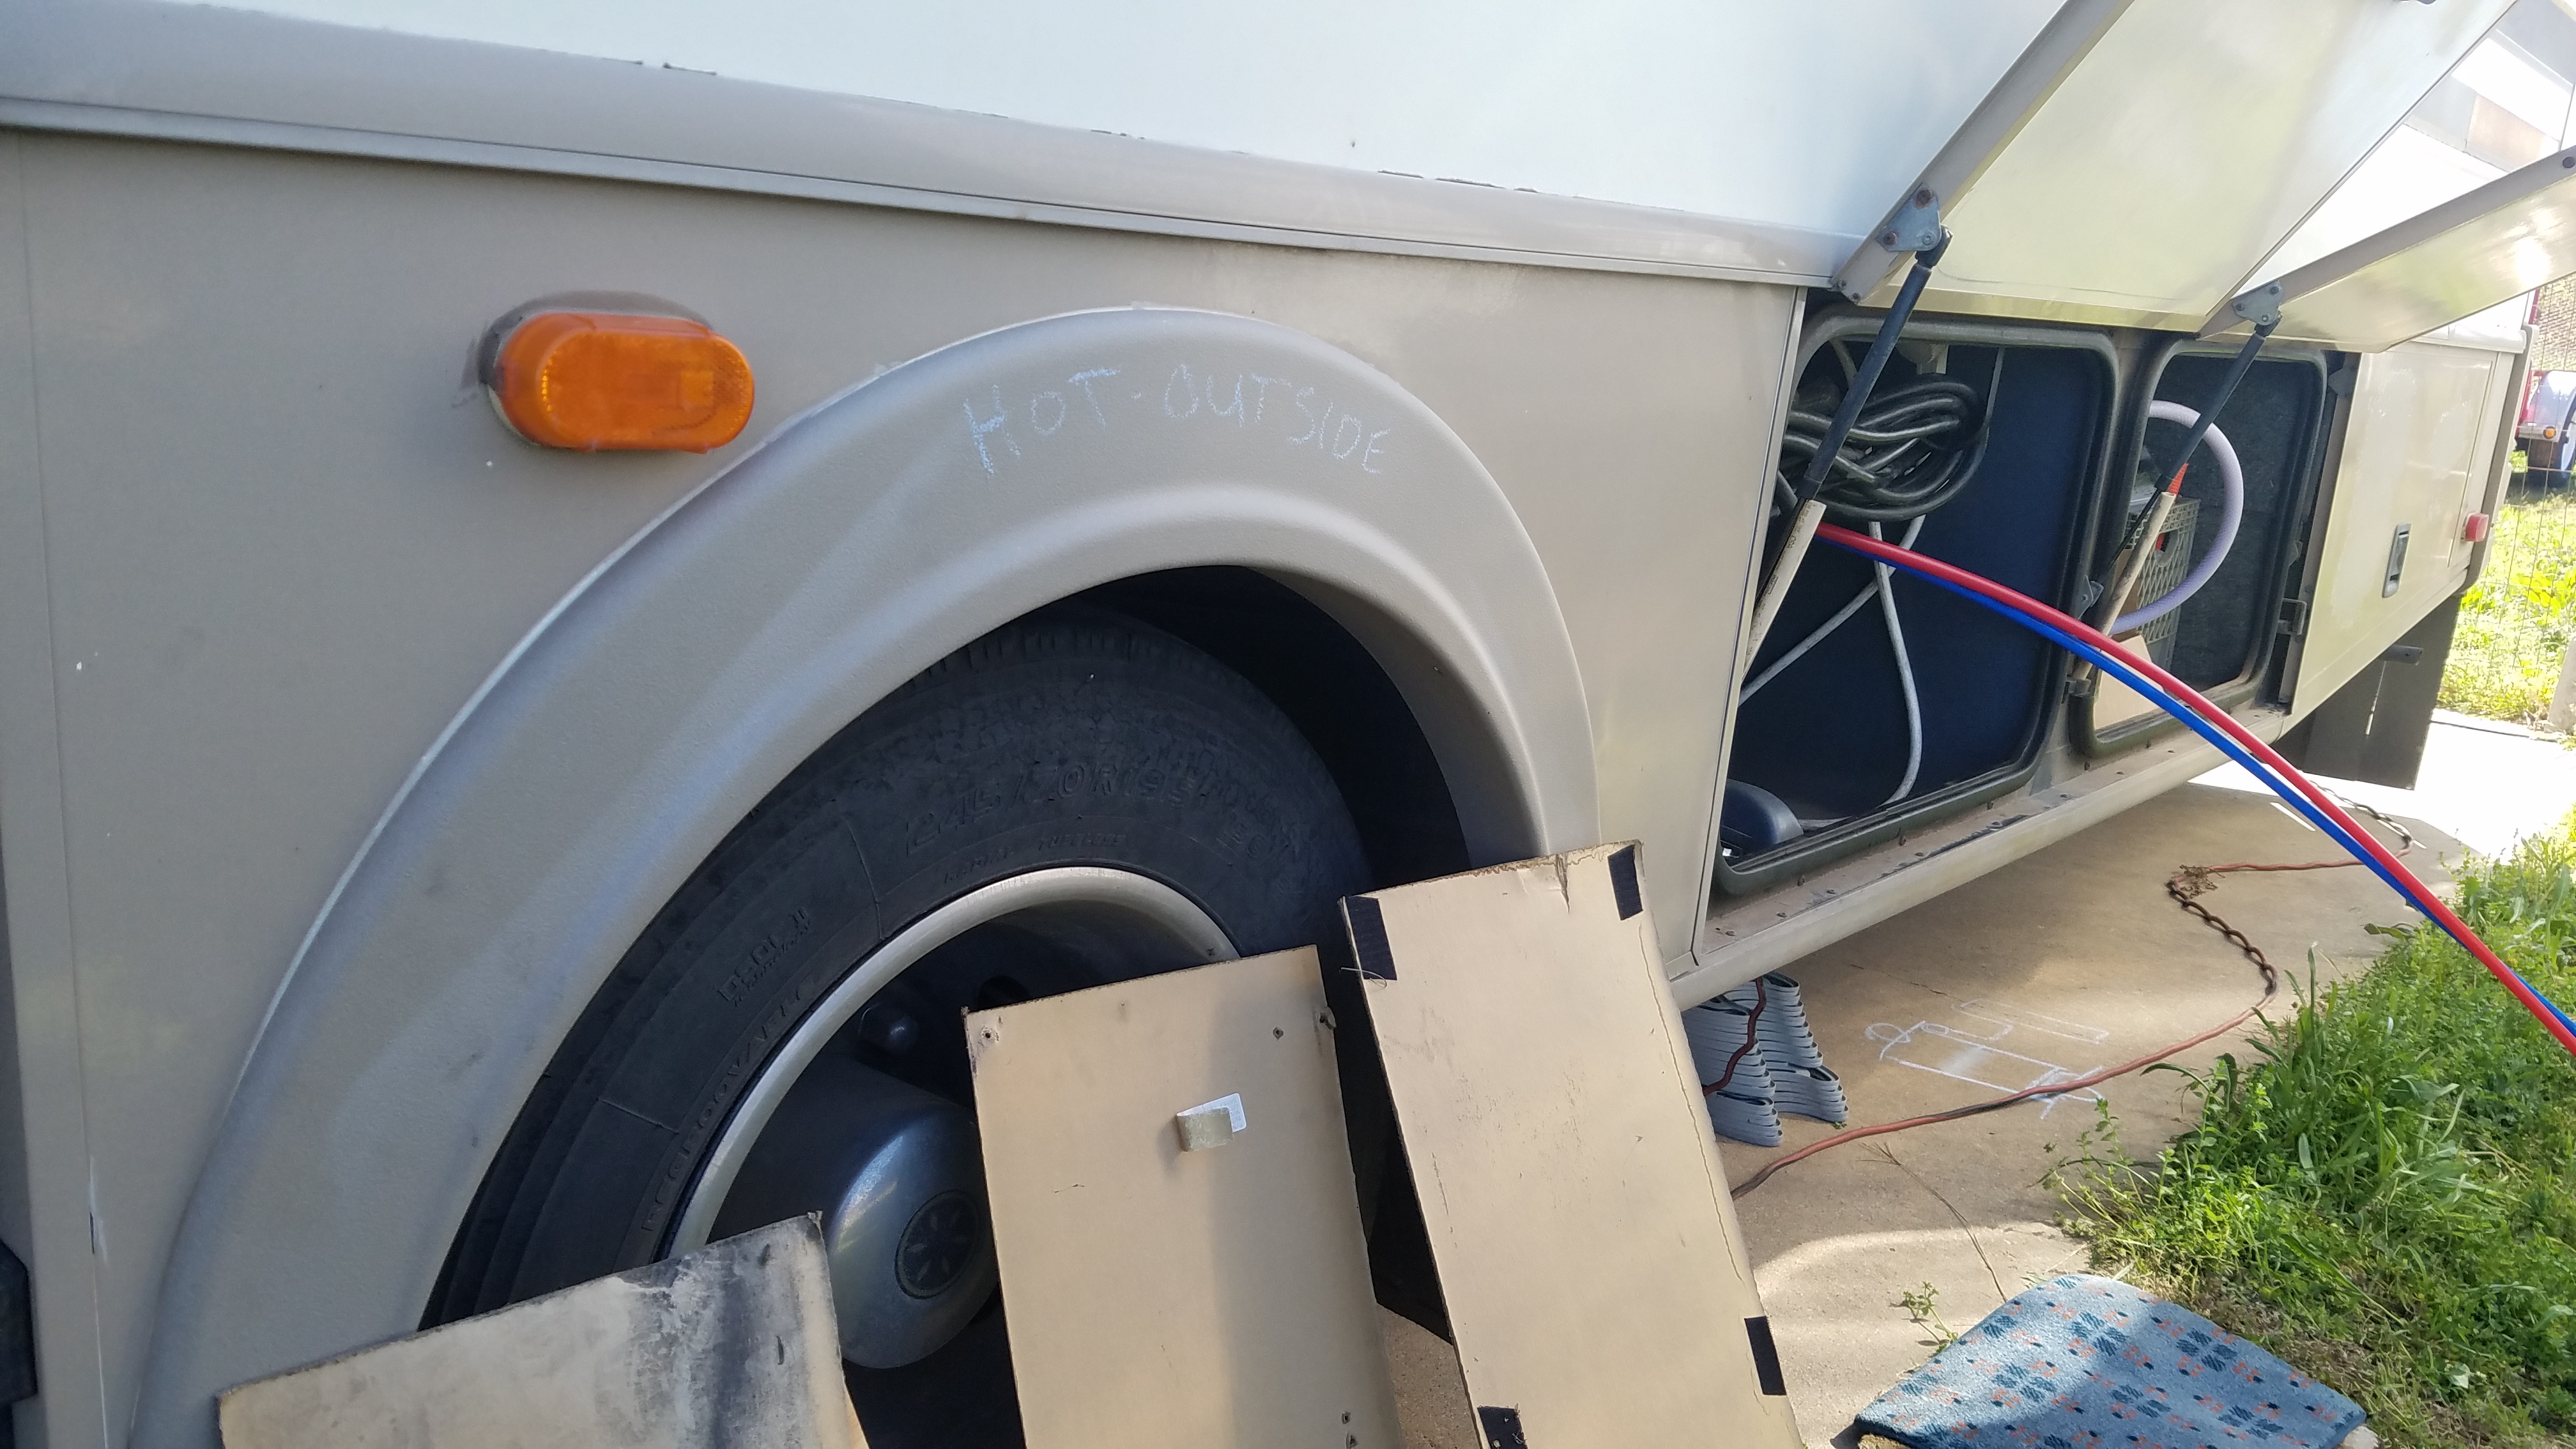
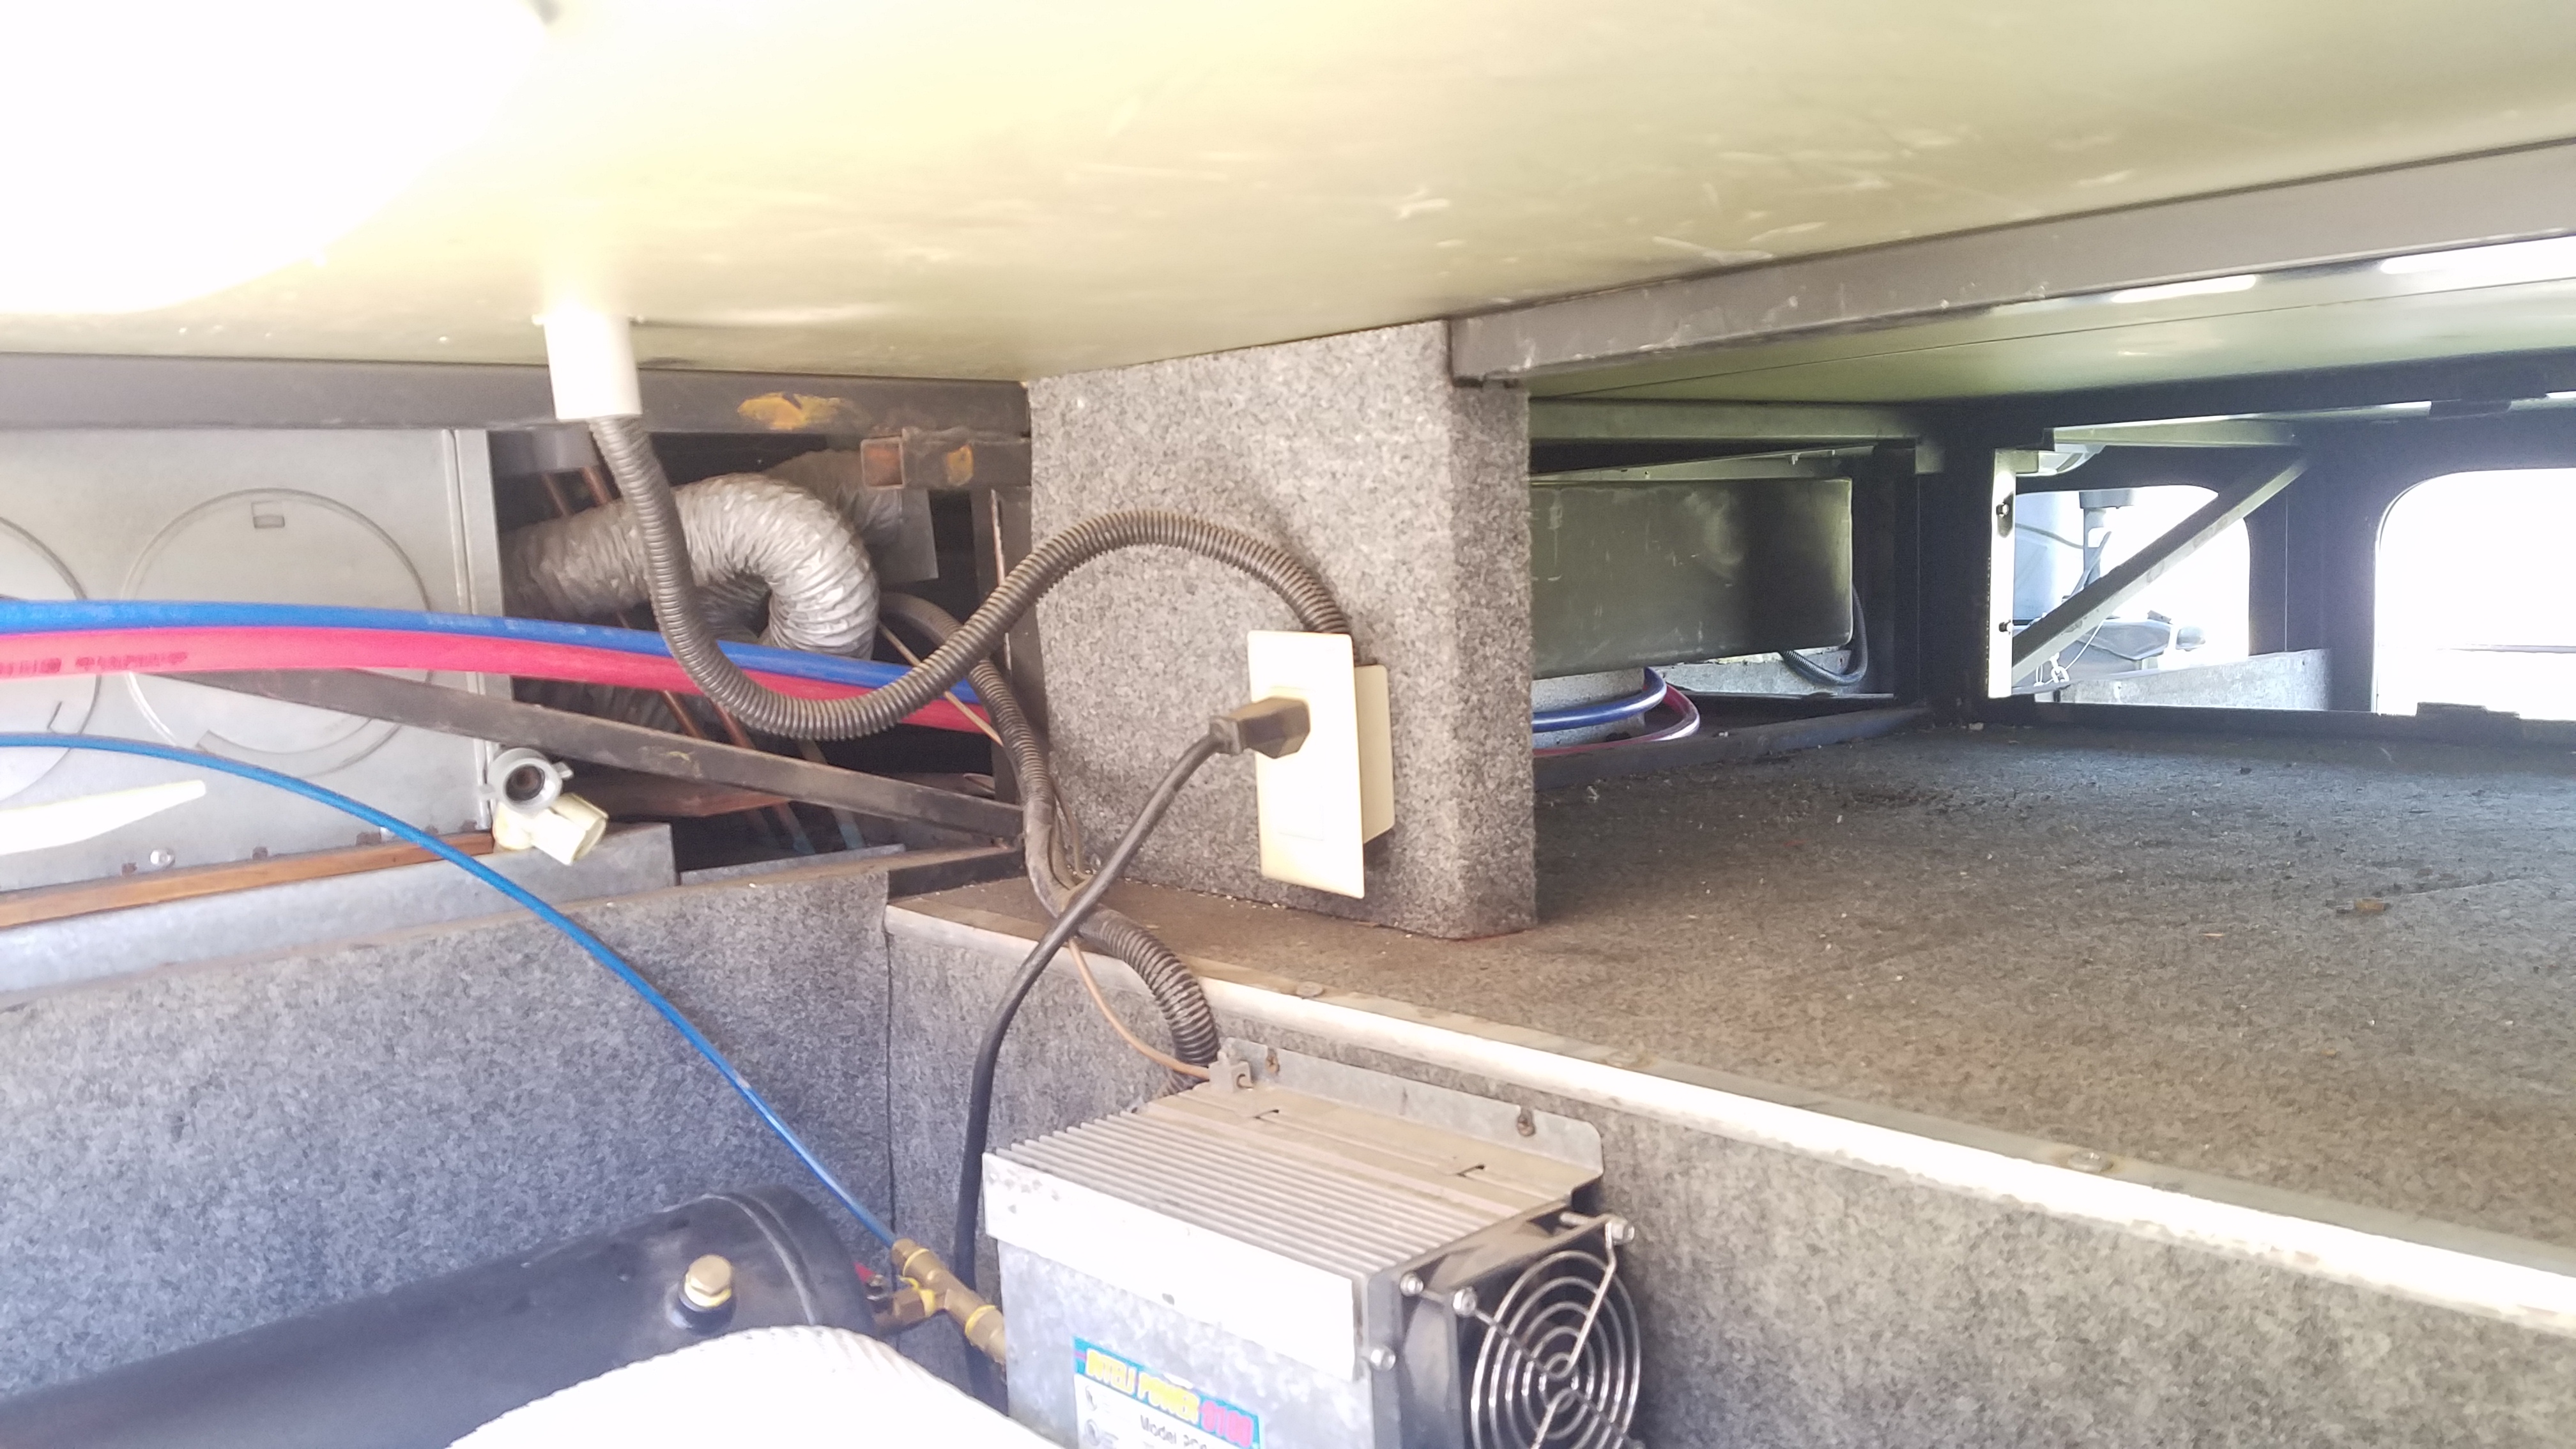
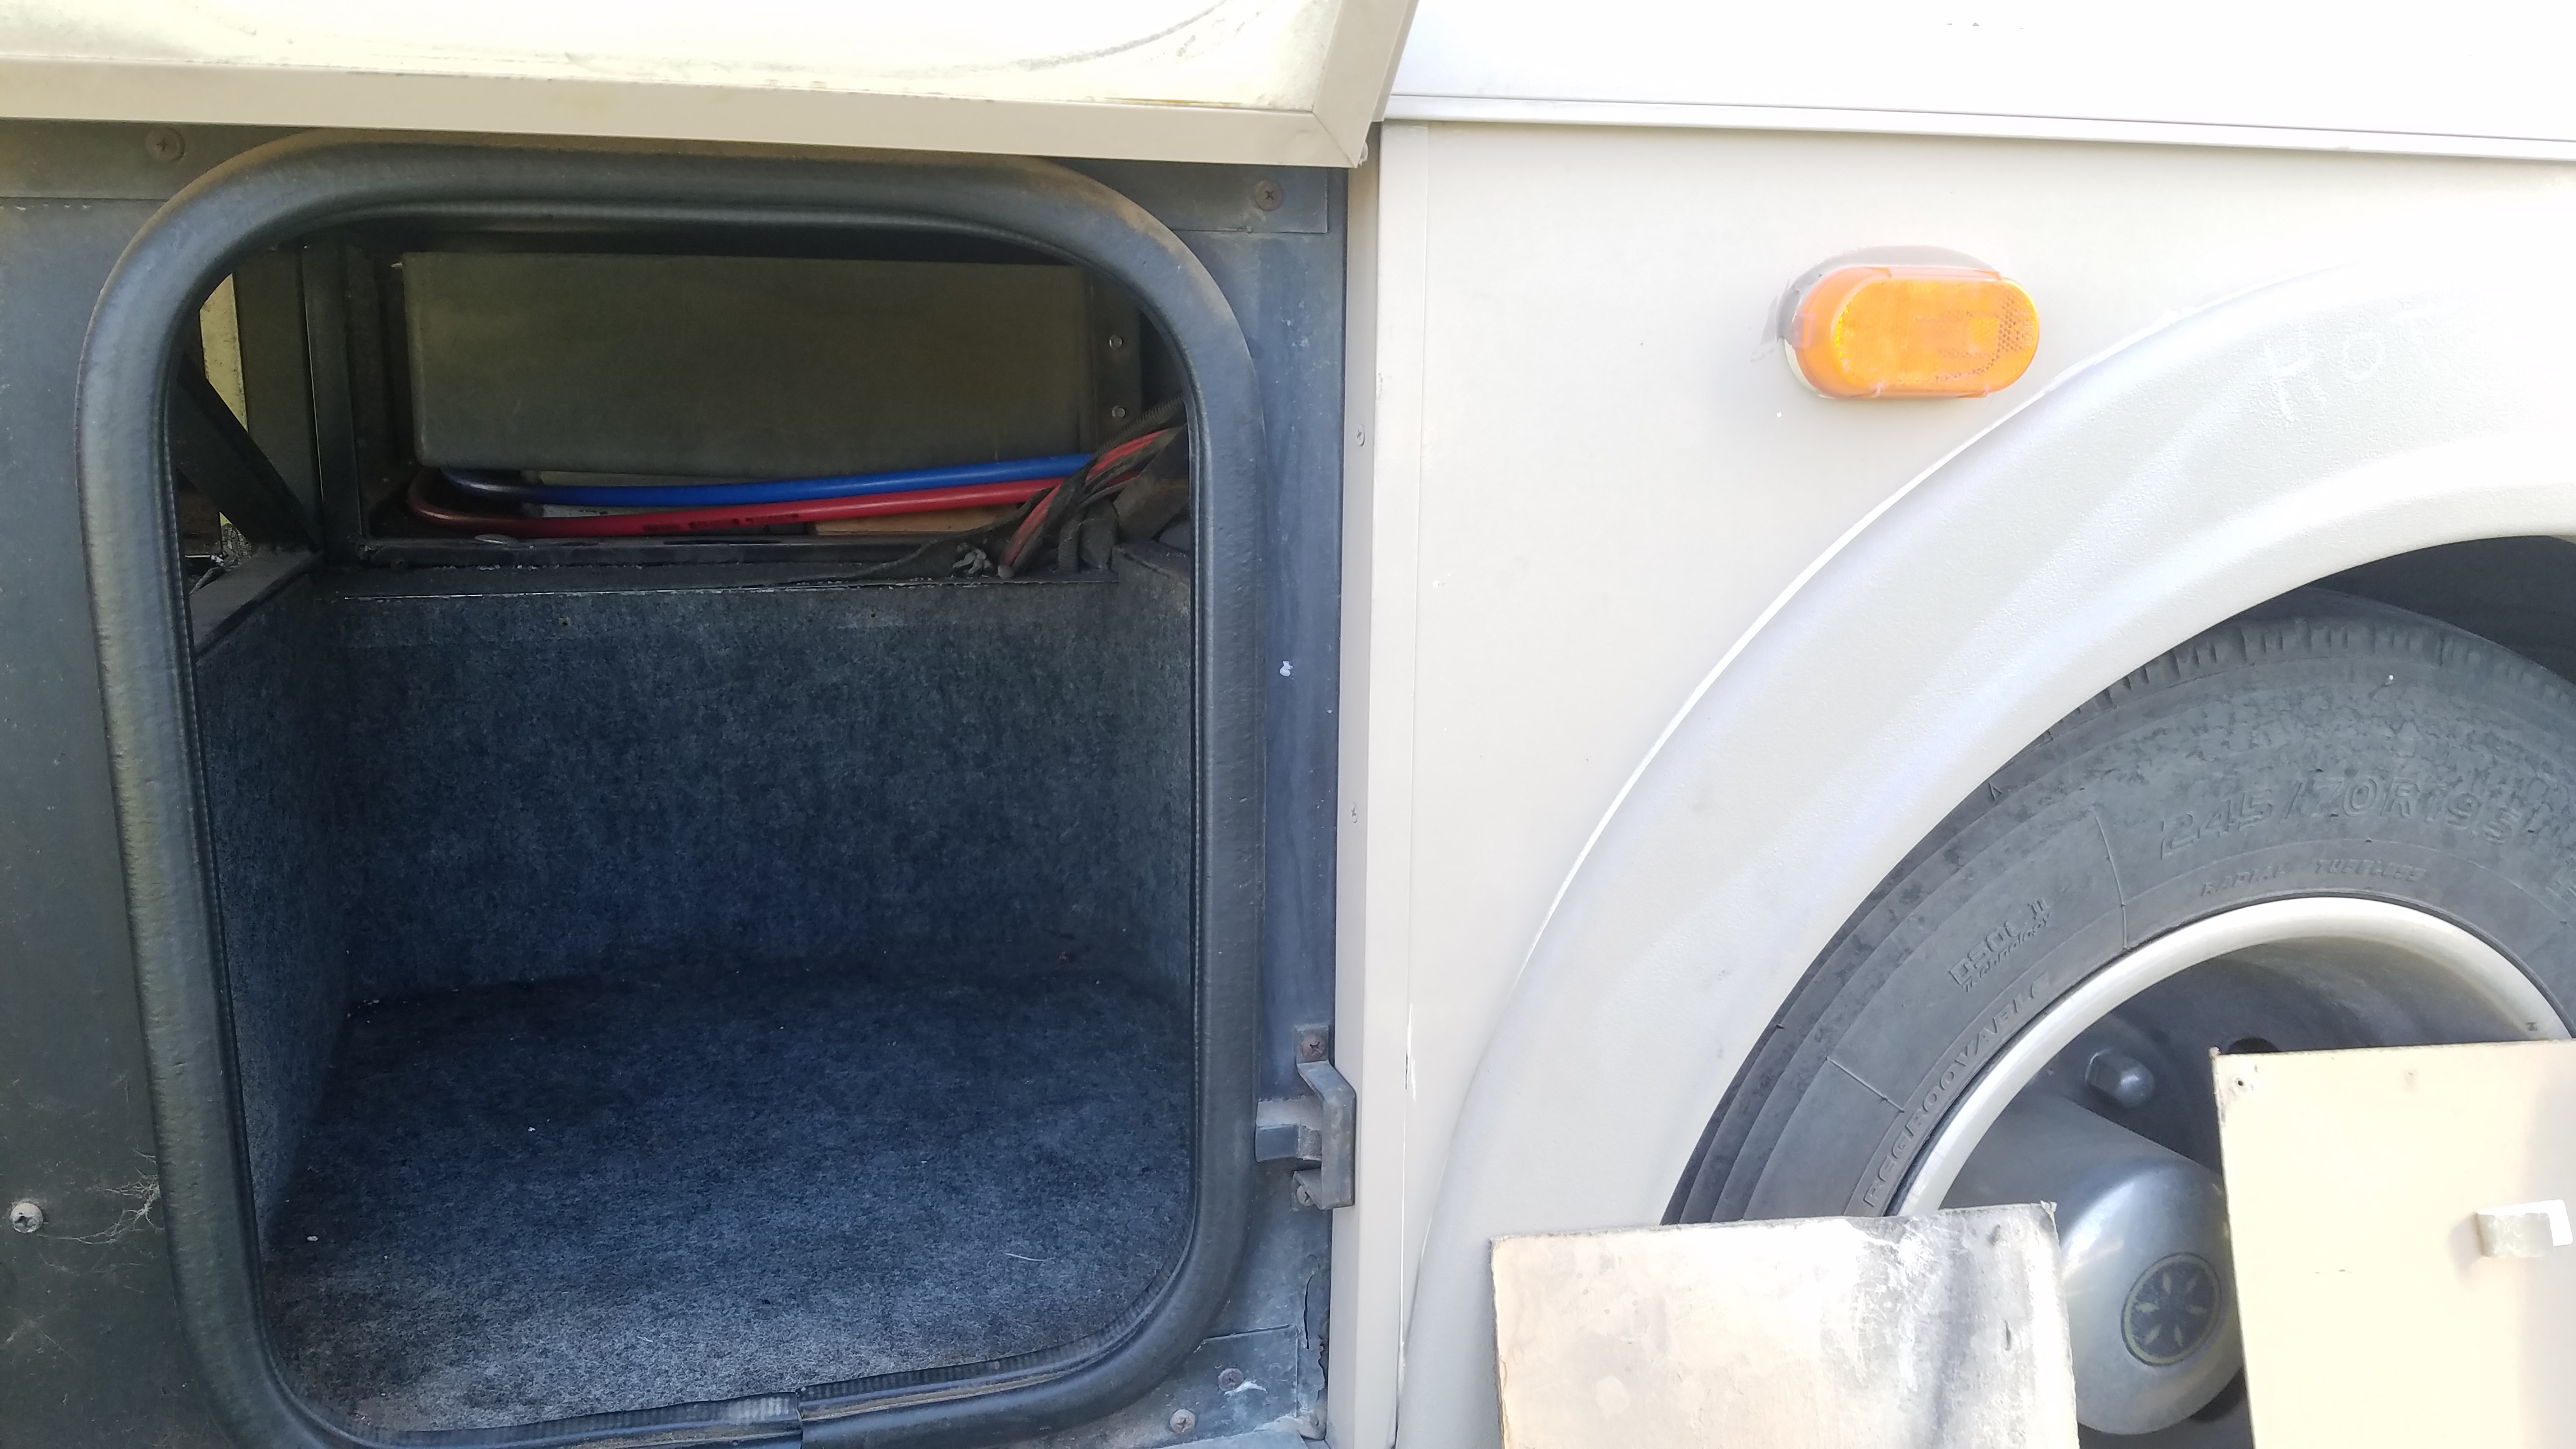
We spent the weekend visiting with Carmen’s family and planned on hitting the road again after they went back to work/school. We had started the fridge over the weekend and started getting ready to pack & go Monday morning. Alice called out to me that the water wasn’t working so I opened the basement where the water pump is and it was running fine. As I’m walking back to the door I see a stream of water coming out from under the RV. Upon closer inspection I found out some pipes in the basement were cracked at the low points. We texted Carmen that we were going to keep them company a while longer.
Carmen and Bryce had a cold spell after we left in February and “strongly suggested” running the furnace and they would go fill propone if needed. I recall how fast we went through propane on the trailer and I knew they’ve been super busy. I didn’t want to have them having to drive the beast to fill propane every couple days and resisted using the furnace. I did agree to their second suggestion to use an electric space heater so they didn’t have to mess with driving the RV to town.
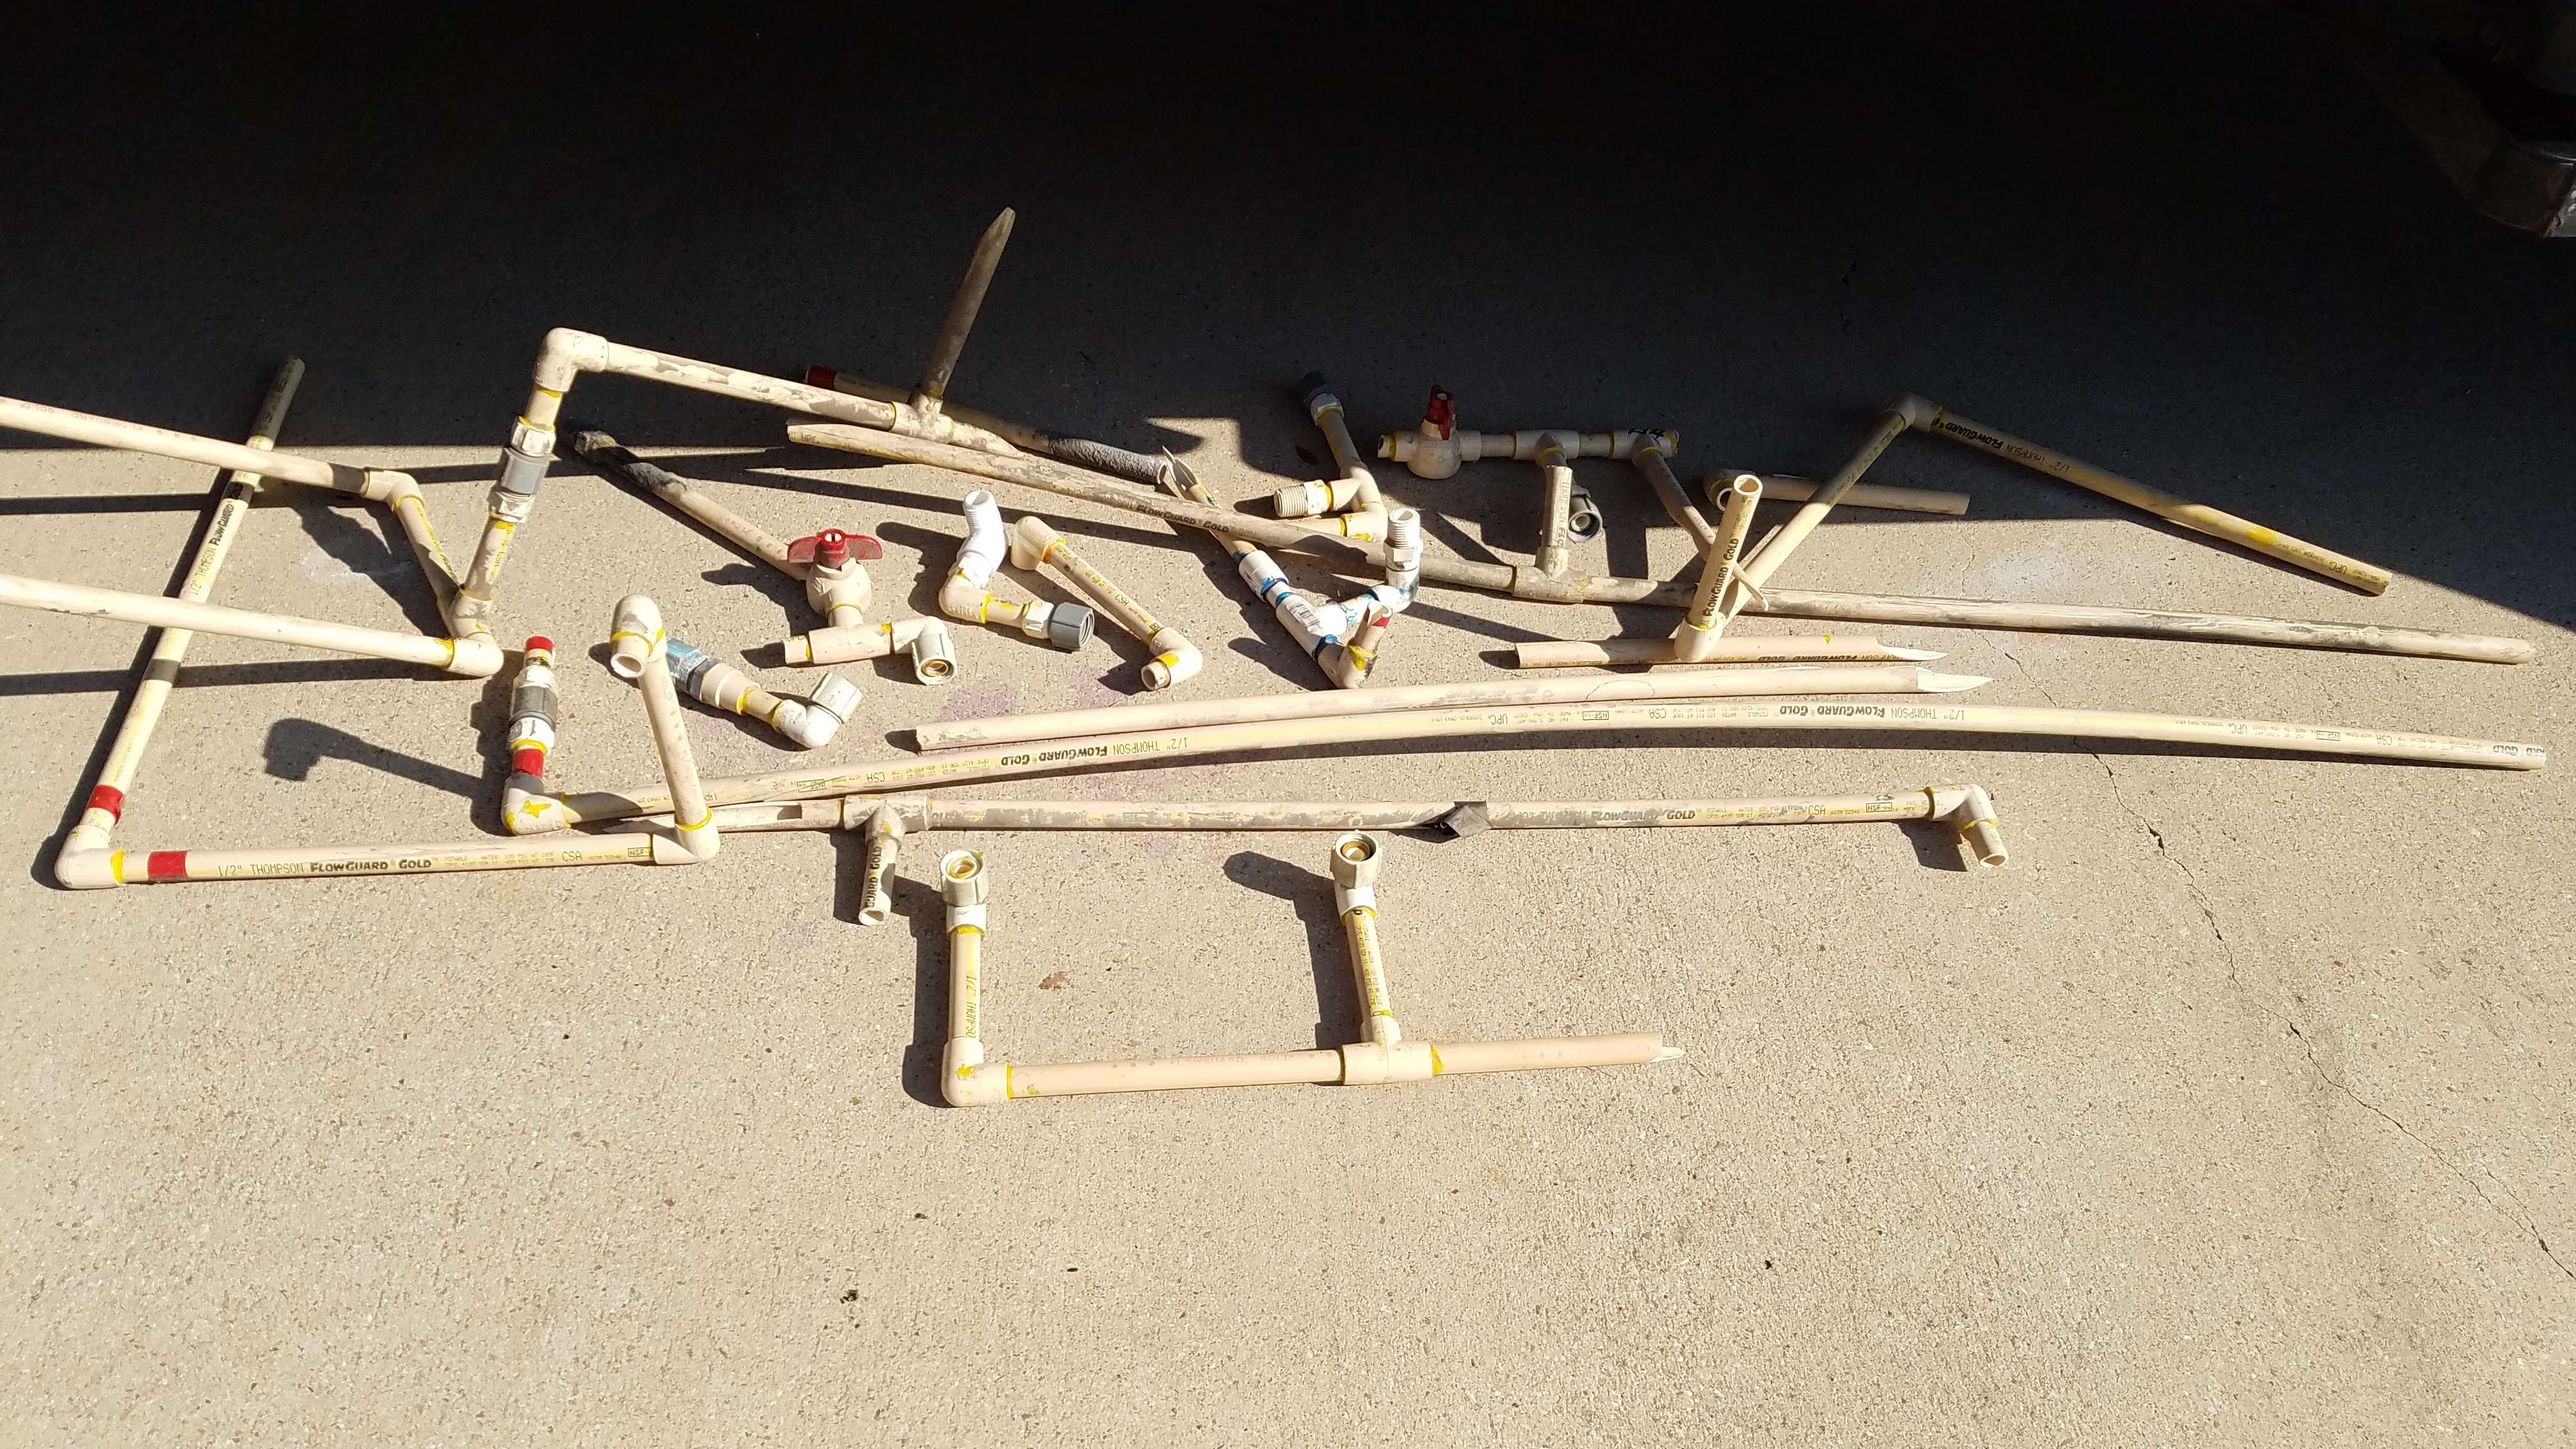
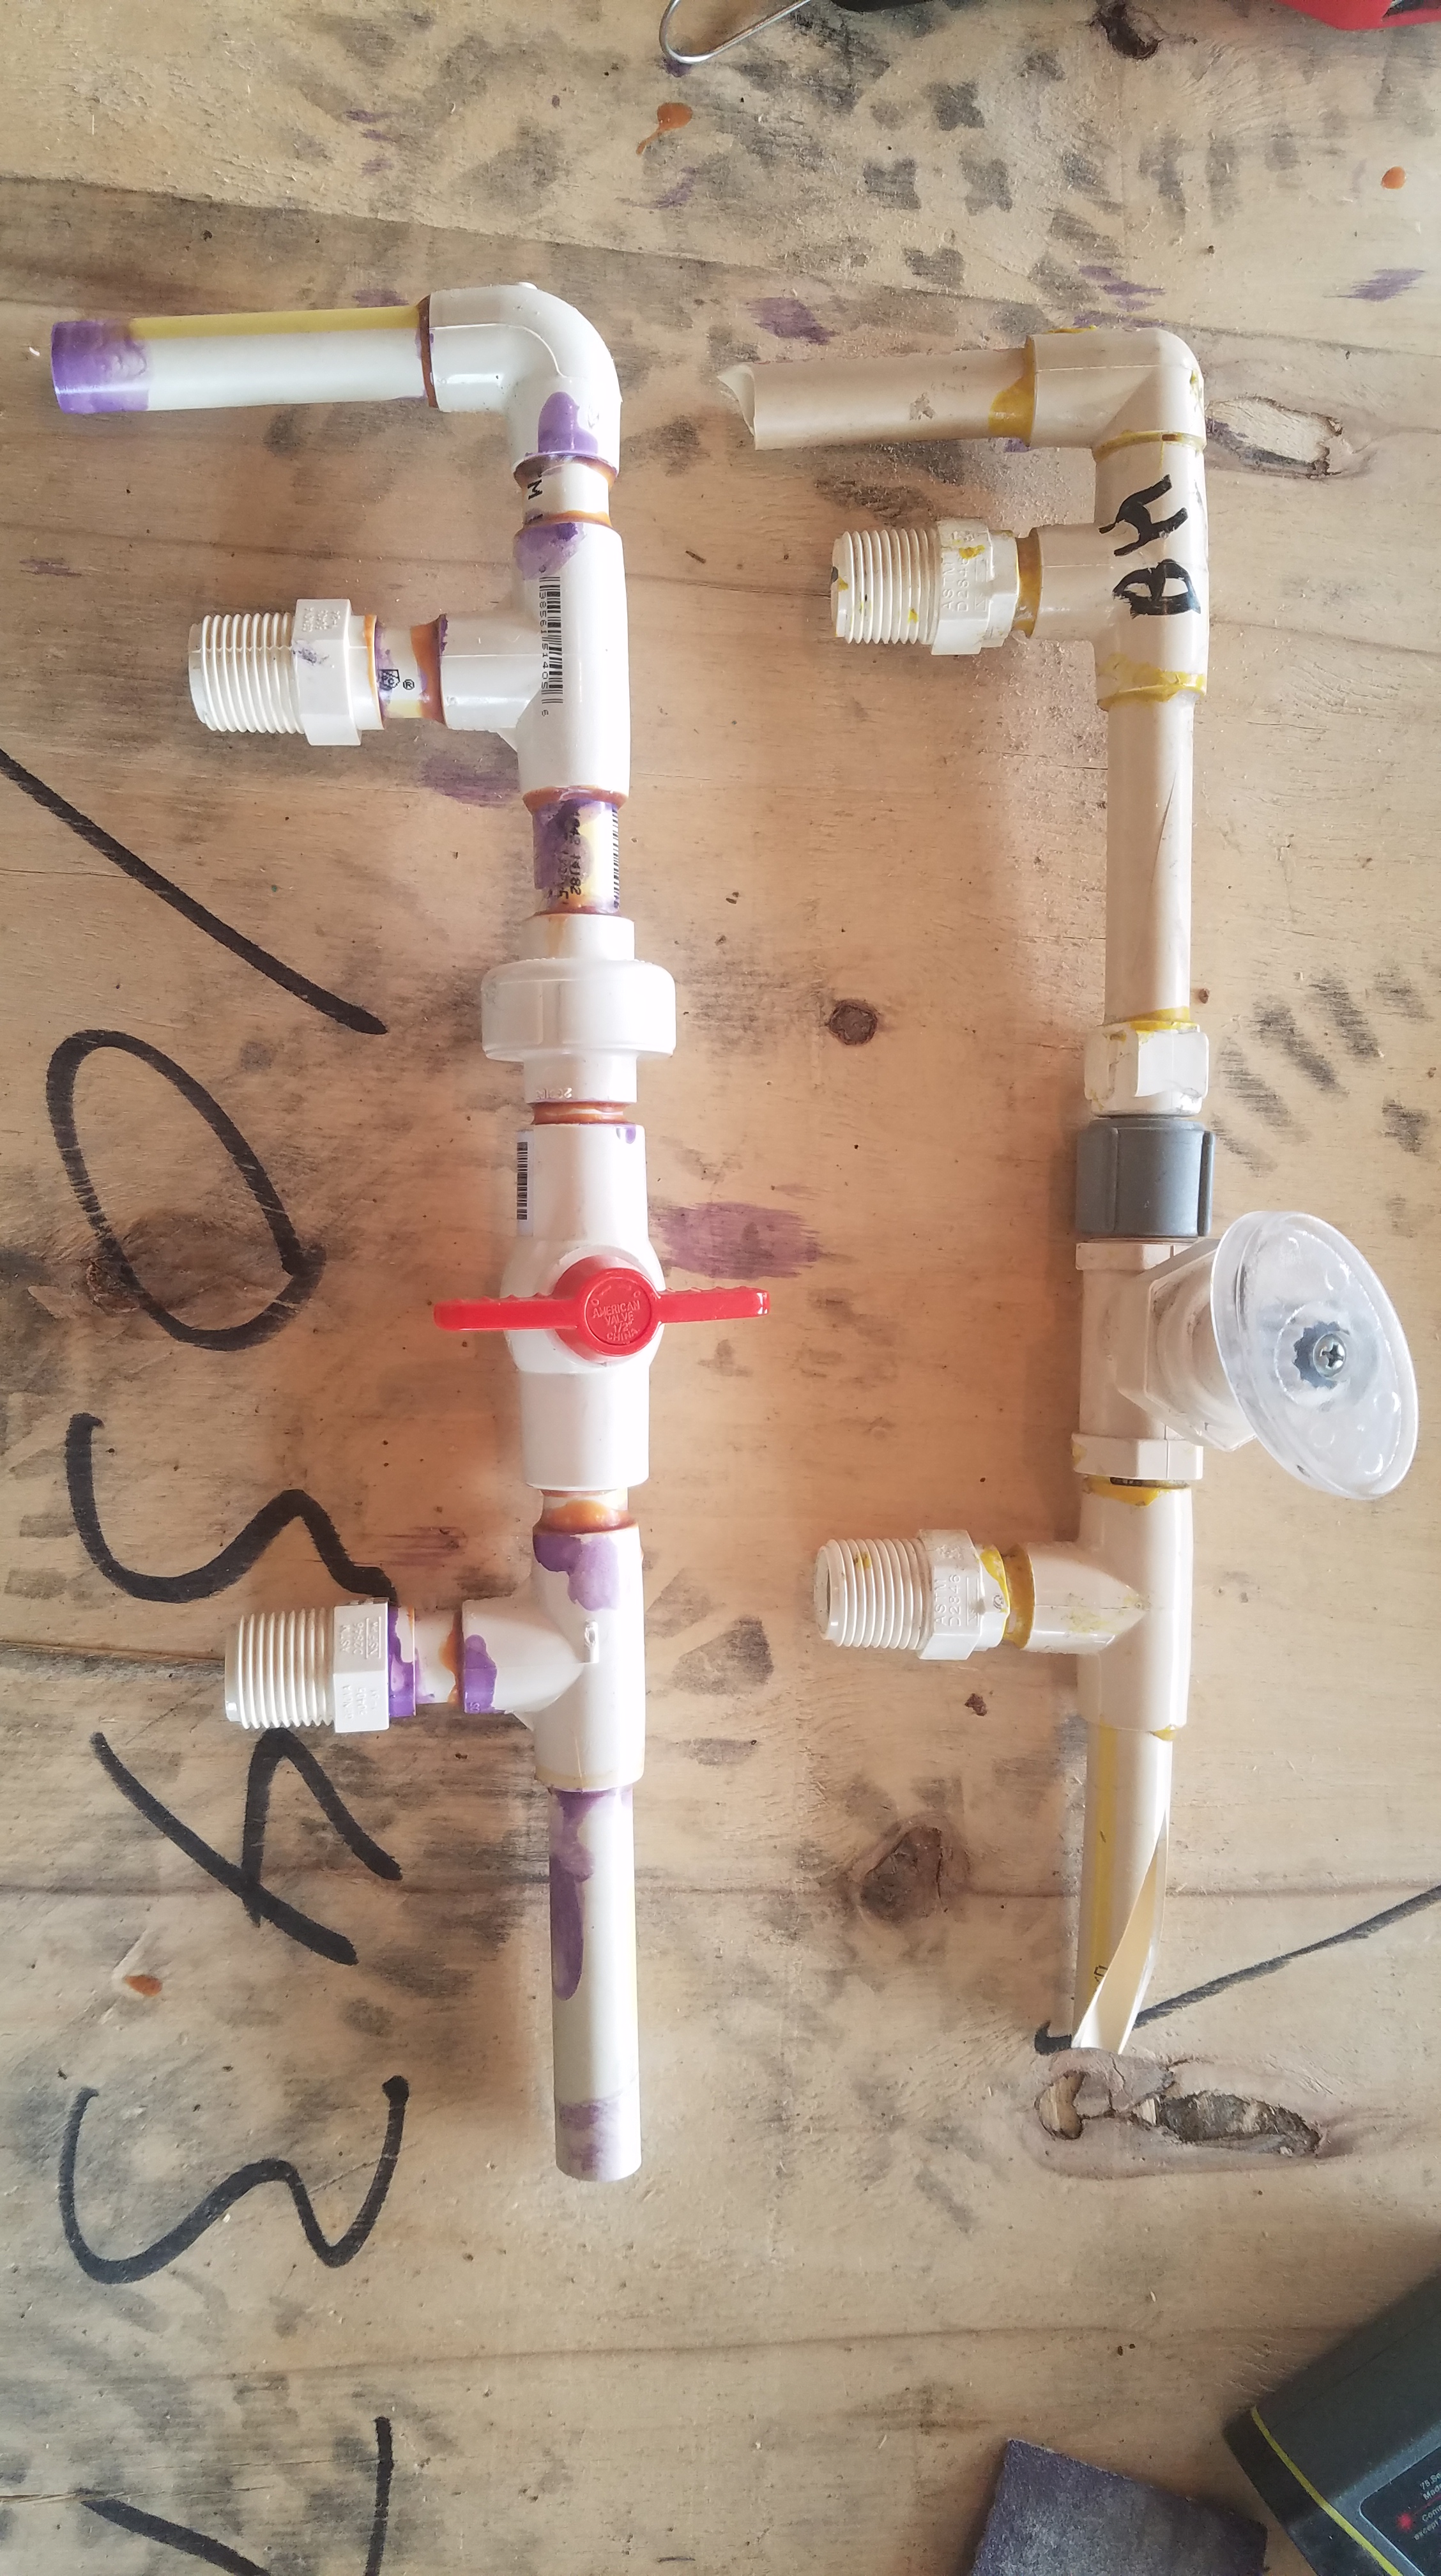
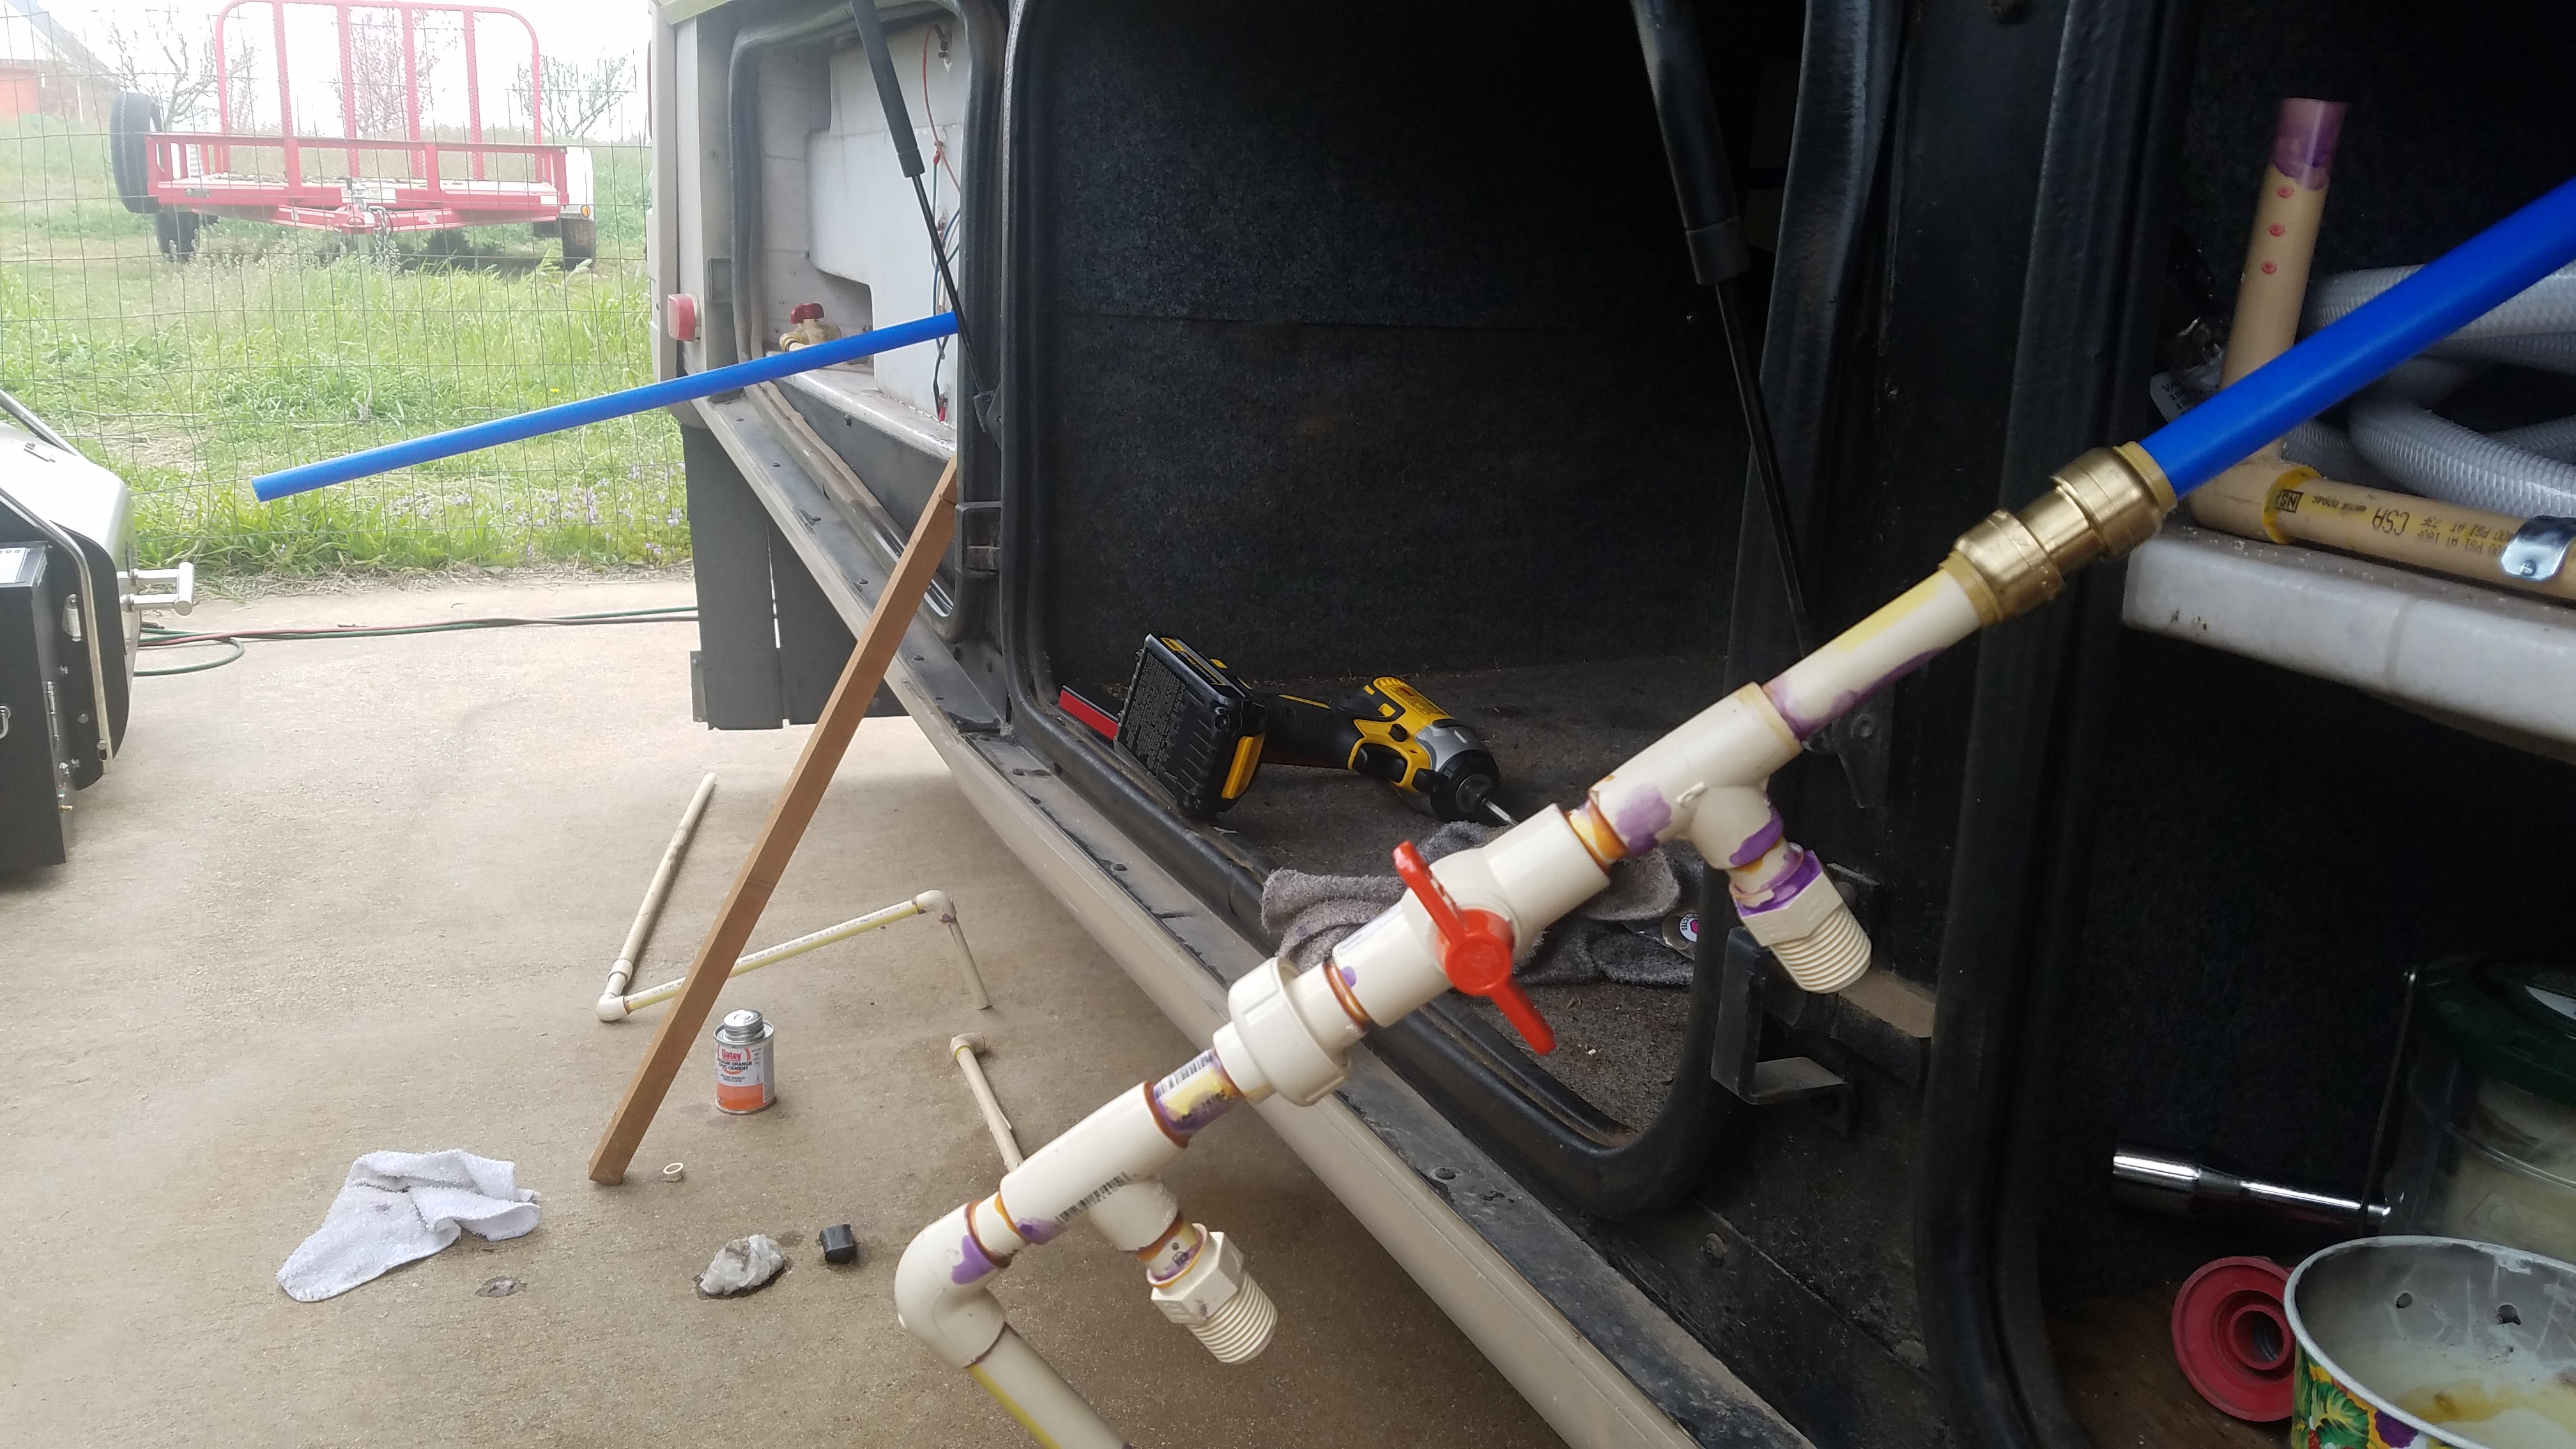
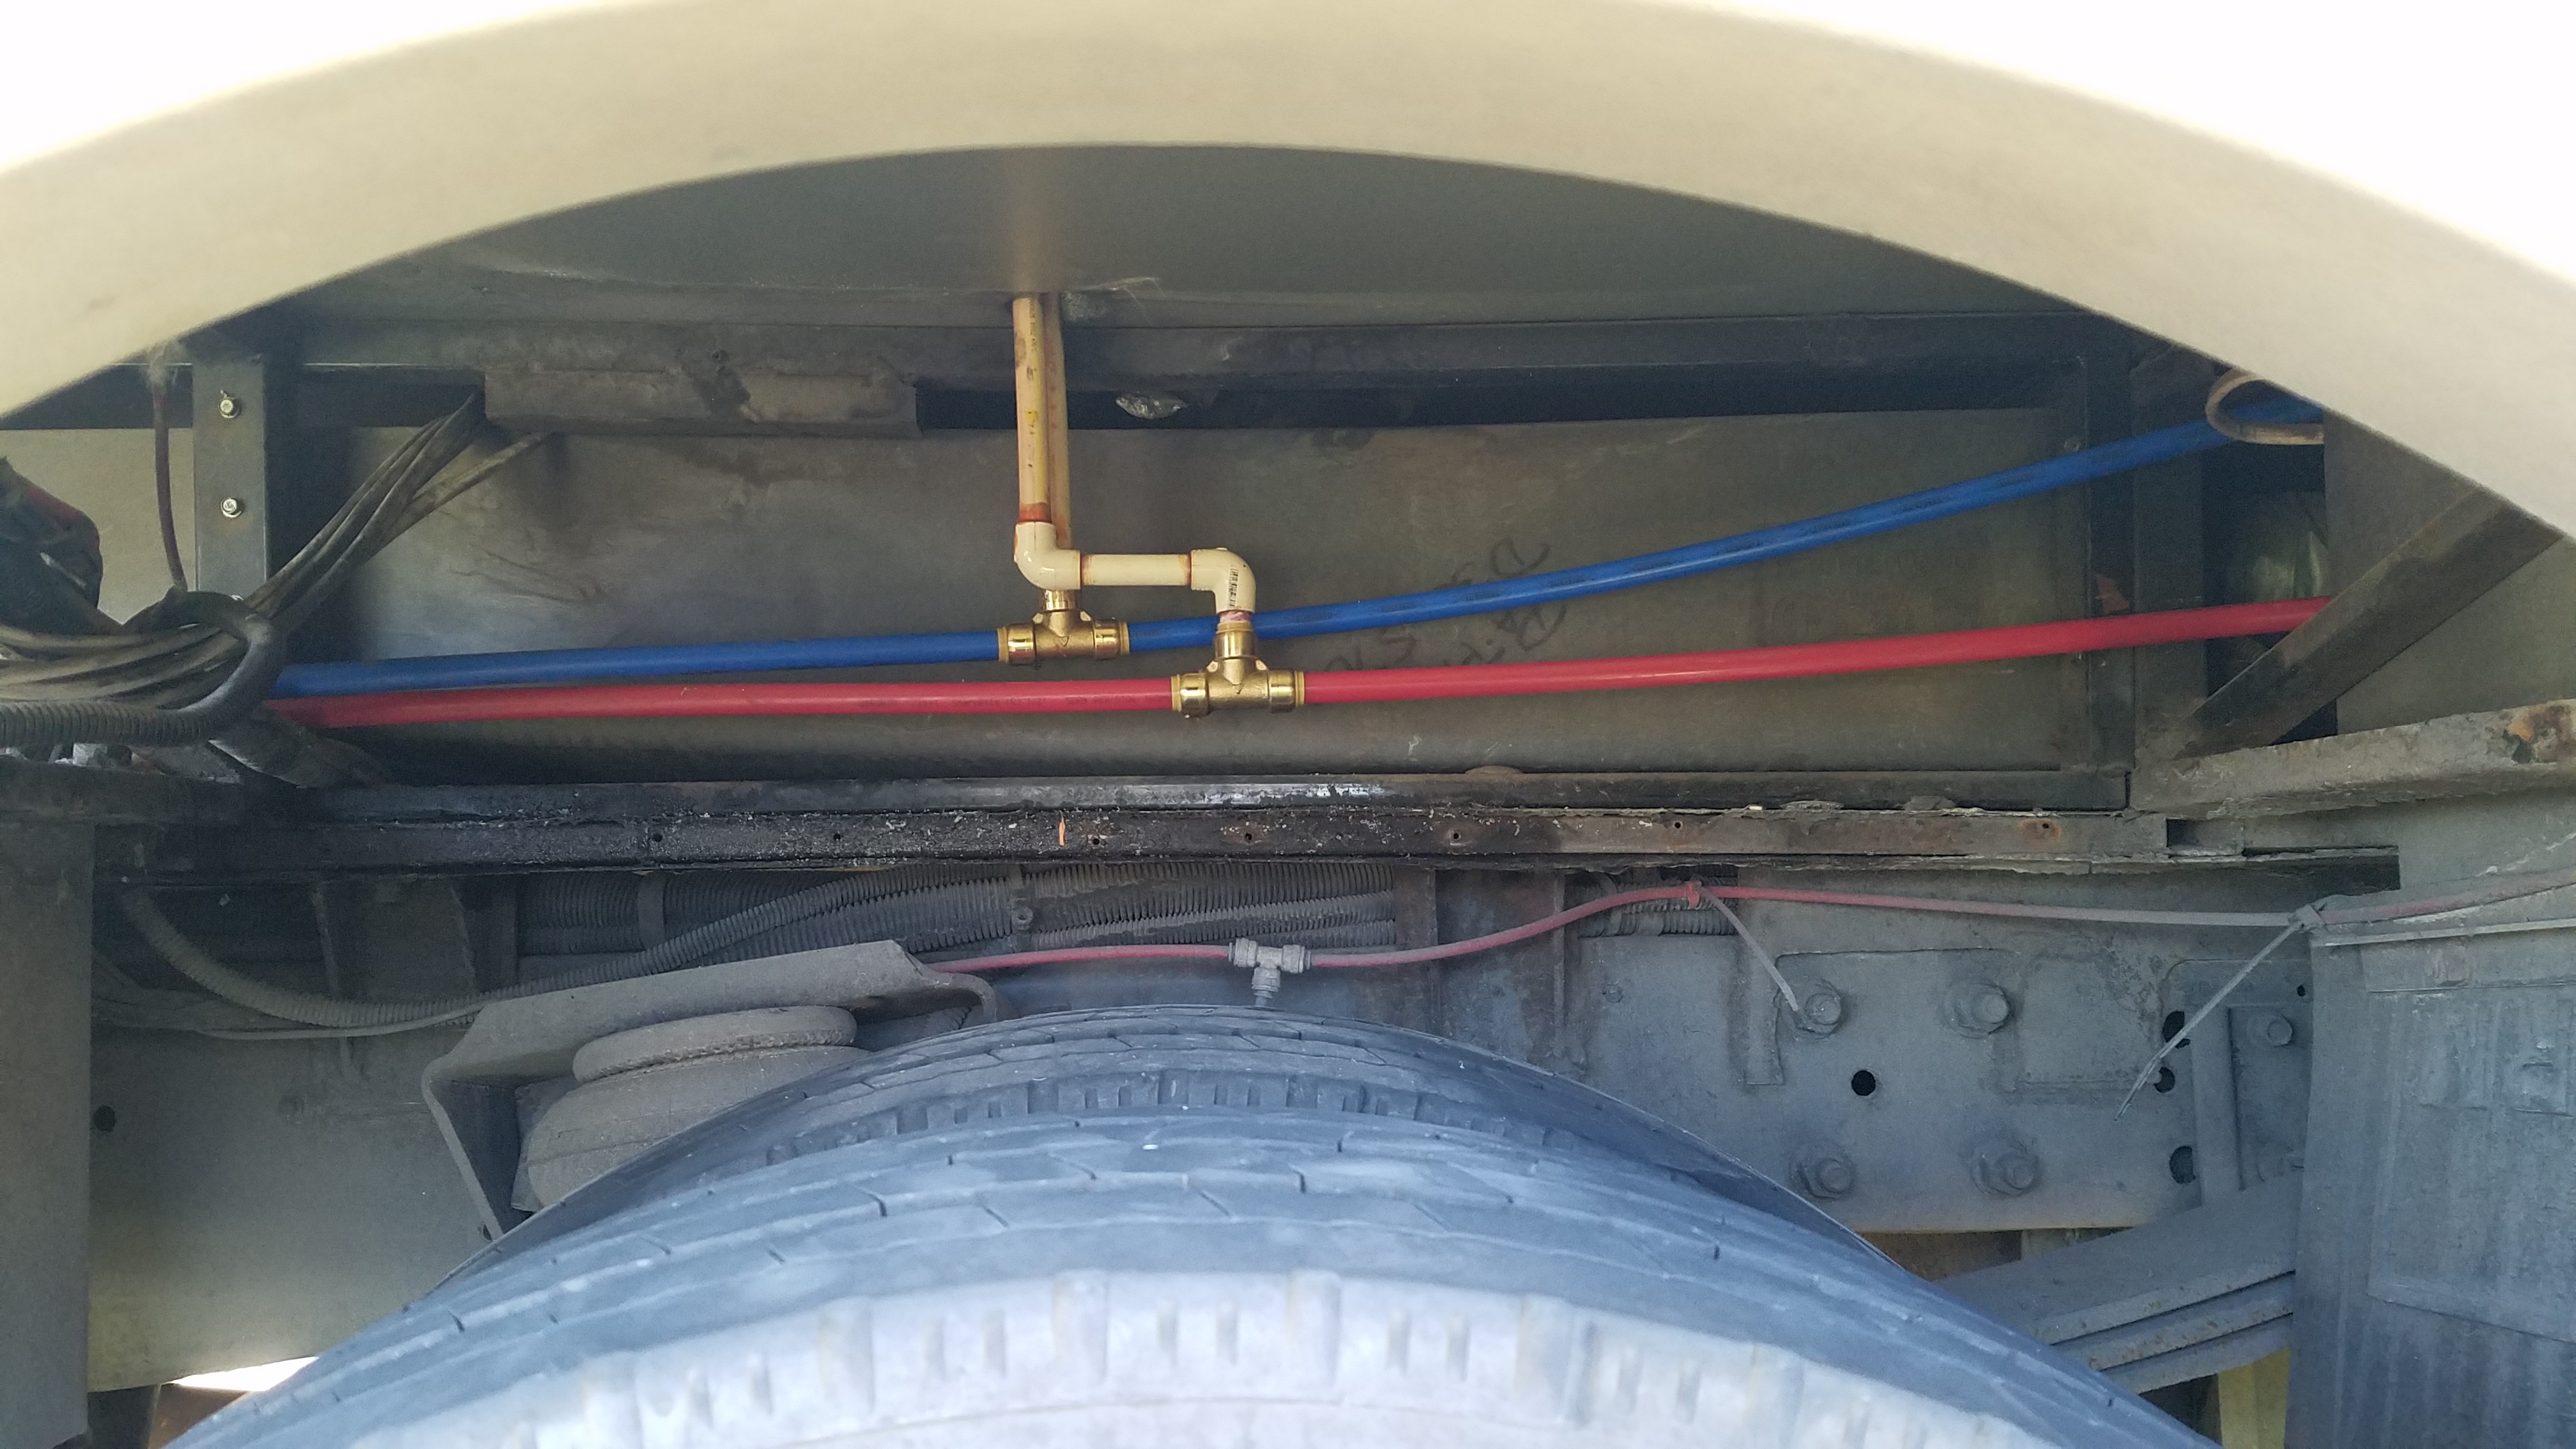
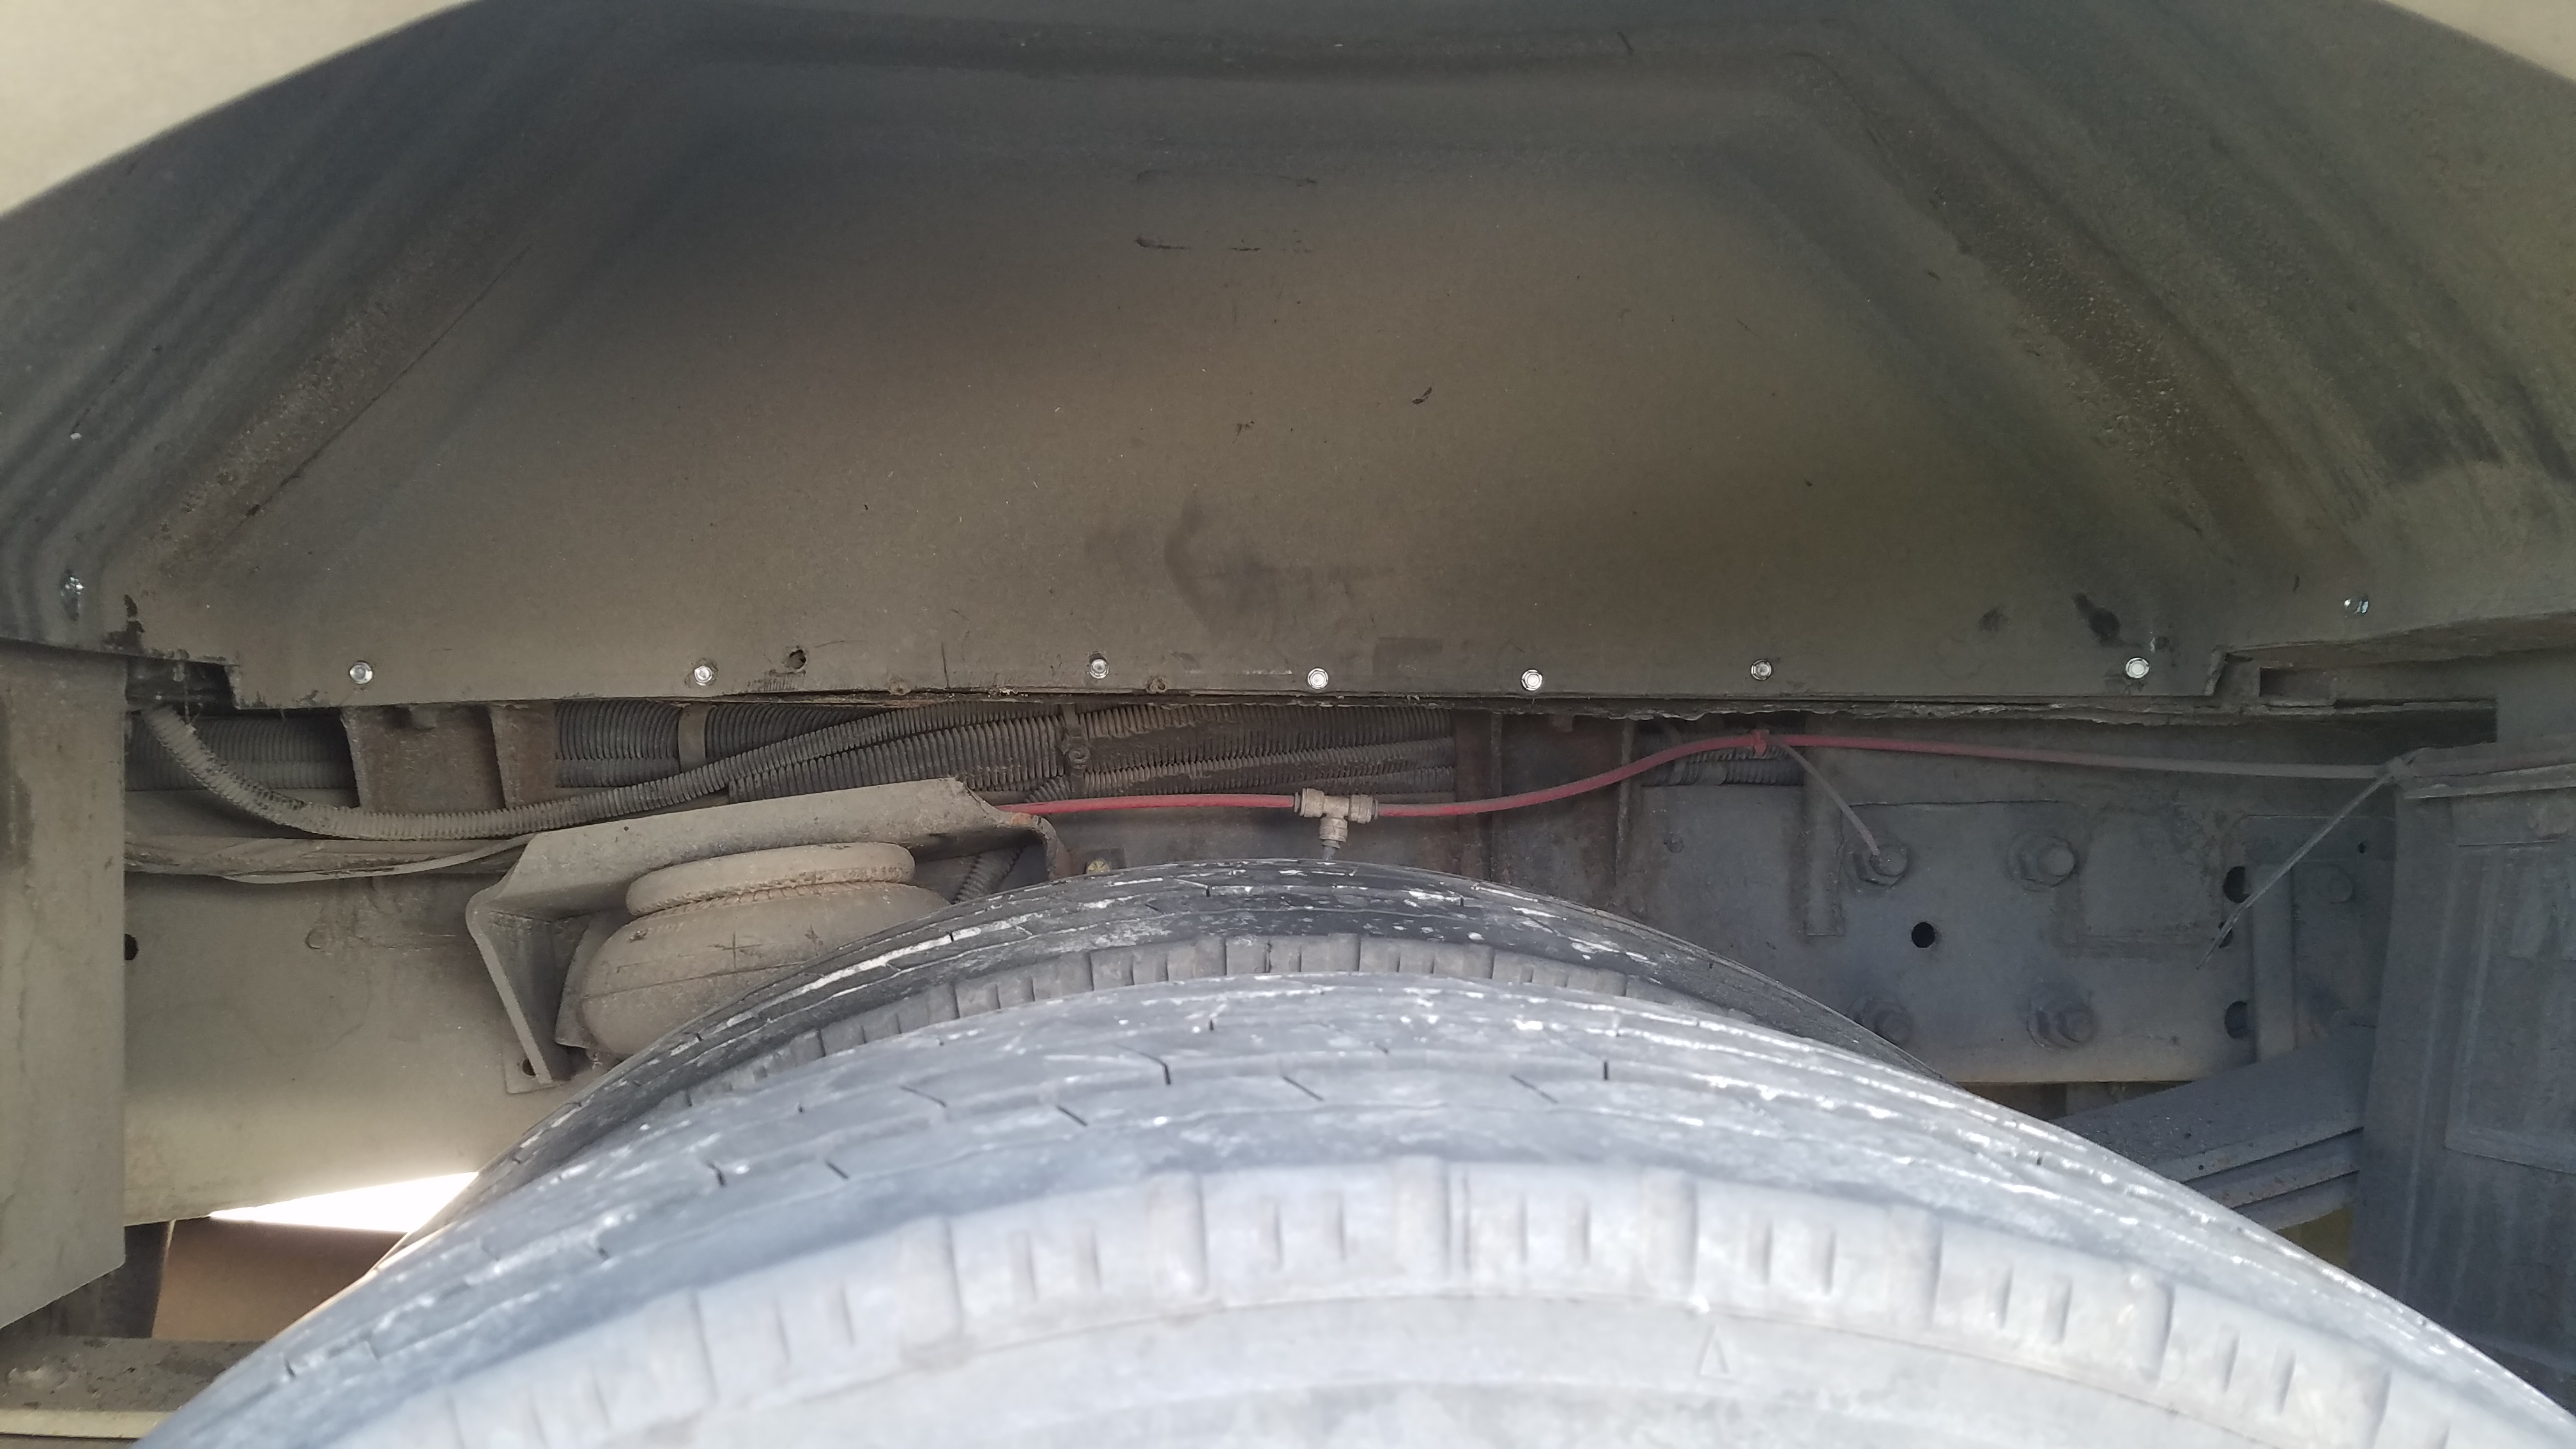
So our trip is delayed until I fix the pipes, little did I know how many hidden pipes were split. Each time I fixed the leaks I found, the next higher split in the system would spew water under the RV. The water, not moving ahead reminded me of Lynyrd Skynyrd since the RV couldn’t even get three steps so that song was going through my mind during repairs. It ended up taking almost a week to fix the mess I created. Some sections of CPVC pipe were long and there was no way to snake stiff replacement pipe through an assembled RV. I had to use PEX in some areas and use adapters between CPVC and PEX joints.
Just proves, listen to your children and take their advice!